 How-to
How to Grade Land for Drainage: 7 Steps That Work
Table of Contents
- Why Proper Grading Matters for Drainage
- Survey Your Site and Map Water Flow
- How to Calculate 2% Slope for Drainage
- How to Grade Land for Drainage by Hand
- How to Regrade Yard Around Foundation and What Soil to Use
- Verifying Your Grade and Troubleshooting Drainage That Persists
- Frequently Asked Questions
Last Updated: November 5, 2026
Most yards with drainage problems are not the result of a lack of effort. It is a yard that looks flat but holds water in the wrong spots. USDA Natural Resources Conservation Service guidance on surface drainage explains the basic principle: water needs a continuous path downhill, away from structures, with no low spots that trap it.
This guide walks through how to grade land for drainage. You will learn how to survey your site, measure the slope you already have, calculate a 2% fall, shape the soil by hand, and check your work afterward.
Why Proper Grading Matters for Drainage
Grading is the shape of the ground. When the surface slopes away from your house, rain runs off instead of soaking in against the foundation.
Poor grading can cause standing water, soggy lawns, erosion, and moisture problems near the foundation. For managing the whole property beyond drainage, read land management guidance for rural acreage. Water that pools against a wall can seep into crawl spaces and basements over time. Federal Emergency Management Agency guidance on protecting homes from water damage recommends keeping ground sloping away from the building as a basic protection.
Common signs your yard needs regrading:
- Puddles that last more than a day after rain
- Water flowing toward the house instead of away
- Soft, muddy patches near the foundation
- Soil washing out in channels after storms
Survey Your Site and Map Water Flow
Before you move any dirt, watch where water goes. Do this during or right after a good rain, when flow paths are easiest to see.
- Walk the yard with a notepad and mark where water starts, collects, and exits. Sketch the house footprint, driveway, sidewalks, and any retaining walls as reference points.
- Note the lowest spots, where water stops and sits. Mark them with a stake or flag so you can find them again after regrading.
- Identify high spots that send water in unwanted directions, especially any crown or mound that pushes runoff toward the foundation.
- Find the discharge point, the place where water should leave your property safely, such as a street, ditch, or drainage swale. Confirm the path from the low spot to that discharge point is continuous and downhill.
- Record the direction of flow at each downspout, driveway edge, and fence line. These are common entry points for water heading toward the house.
A practical survey also captures the things that change how water behaves. Note soil type (clay, sand, or loam), areas of compacted fill, tree roots, and any bare or eroded ground.
Check for underground utilities before you dig or disturb soil. For the full sequence of site preparation steps, from surveying to grading, see essential site preparation steps for building a custom home.
Measuring Existing Slope With Stakes, String and a Level
You need a few basic tools: wooden stakes, mason's string, a line level, a 4-foot level, a tape measure, and a rake. A helper makes the string work faster, but you can do it alone.
- Drive a stake at the point closest to the house, at the finished grade line you want to start from.
- Drive a second stake about 10 feet away, in the direction water should flow.
- Tie the string to the first stake at ground level, then run it to the second stake and tighten it.
- Attach the line level to the string and adjust until the string is level.
- Measure the gap between the string and the ground at the second stake. That drop, divided by the distance, gives your current slope.
A drop of 6 inches over 10 feet is a 5% grade. A drop of 2 inches over 10 feet is about a 1.7% grade. Most yards near homes fall well short of the recommended slope, so expect to add fill.
Repeat the measurement at several points around the foundation and along the path to the discharge point. Record each reading with its distance so you can compare before and after.
Watch out: a string line that sags or a level that is not calibrated will give a false reading, so check the level on a known flat surface first and keep the string taut.
Building a Simple Grade Map
Turn your notes into a one-page plan you can follow while grading. Mark the house, the discharge point, the high and low spots, and the direction you want water to flow. Write the target slope on each flow path, such as 2% away from the foundation for the first 10 feet. Note where you will add fill and where you will cut soil.
The map makes that visible before you start moving soil, so you can plan a continuous path to the discharge point instead of fixing one puddle at a time.
How to Calculate 2% Slope for Drainage
A commonly cited target is a 2% grade, which is a drop of 2 inches for every 10 feet of run, or about 6 inches over the first 25 feet from the foundation. Many builders aim for a 6-inch fall within the first 10 feet, but the exact target depends on your soil and drainage plan.
To calculate it:
- Multiply the run distance by 0.02 to get the drop in feet.
- Example: 10 feet × 0.02 = 0.2 feet, or about 2.4 inches.
Plan for the full drop at the foundation edge and let it taper gradually outward. A steeper slope can cause erosion, so balance drainage with stability.
The article gives these figures for a 2% grade and how to calculate the drop.
| Item | Value | Note |
|---|---|---|
| Target grade | 2% | Drop of 2 inches per 10 feet of run |
| Fall over first 25 feet | About 6 inches | Common target from foundation outward |
| Drop formula | Run × 0.02 | Result is drop in feet |
| Example drop, 10 feet | About 2.4 inches | 10 feet × 0.02 = 0.2 feet |
| Steeper slope risk | Erosion | Balance drainage with stability |
How to Grade Land for Drainage by Hand
For small yards and light regrading, hand tools work well.
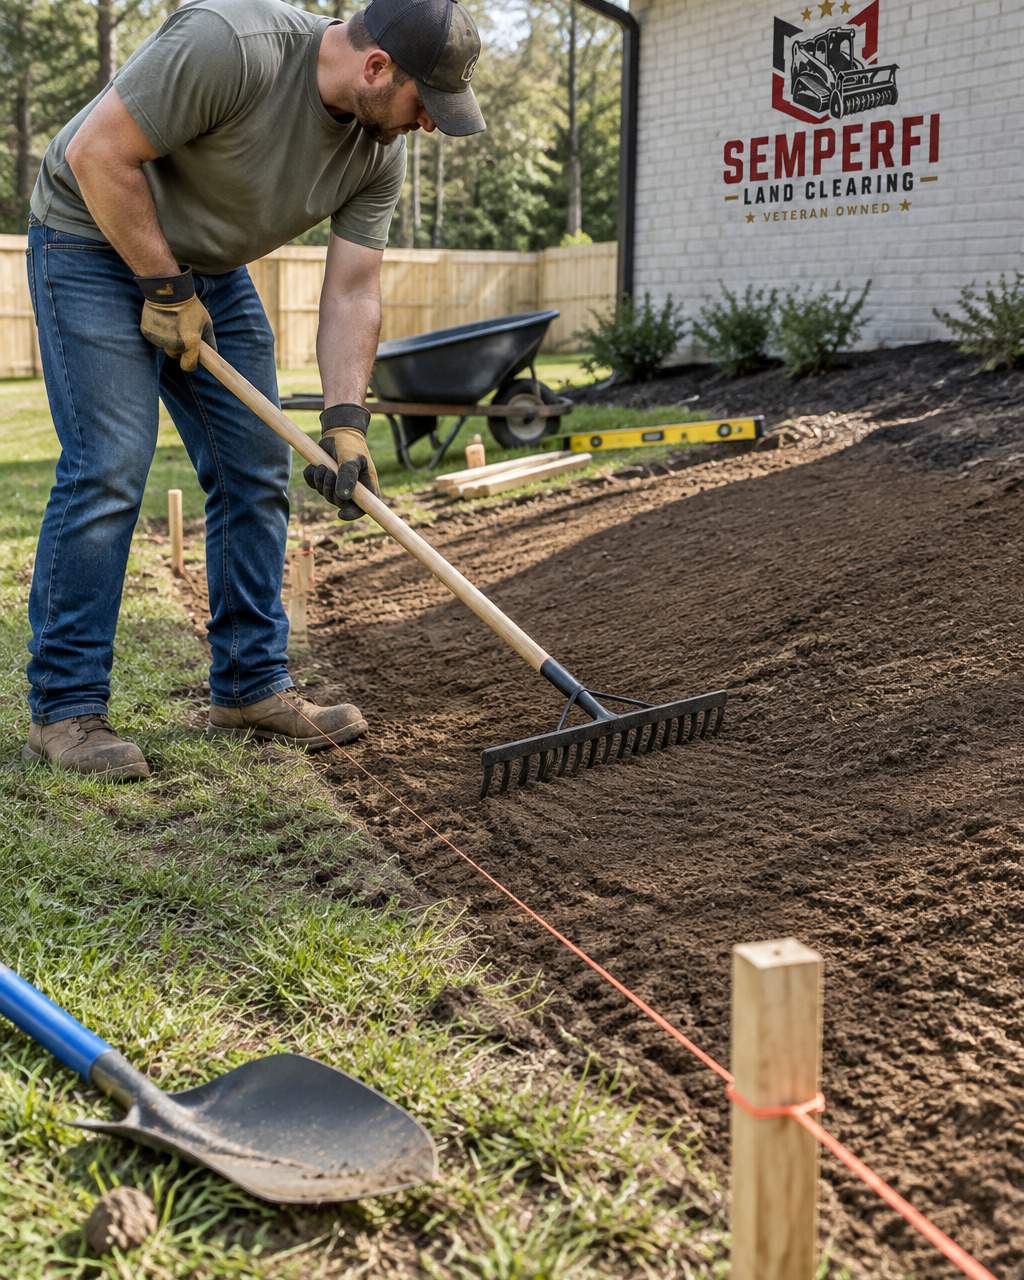
- Strip any sod or loose debris from the area you plan to reshape.
- Loosen the top few inches of soil with a rake or tiller.
- Add fill dirt where the ground is too low, spreading it in thin layers.
- Rake each layer smooth before adding the next.
- Remove soil from high spots and spread it toward low areas.
- Keep the string line in place so you can check the slope as you work.
A common mistake is adding too much soil at once. Thin layers of about 2 to 4 inches are easier to compact evenly.
Choosing Soil and Managing Compaction and Settling
Soil type affects how well your grade holds. Clay expands when wet and shrinks when dry, so it settles unevenly. Sandy soil drains fast but erodes easily. A loam blend, with a mix of sand, silt, and organic matter, usually works best for fill.
Compact each layer lightly with a plate compactor or by walking it down, but avoid packing it so hard that water runs off the surface instead of soaking in. Expect some settling over the first few months, and plan to add a little more soil if low spots reappear.
How to Regrade Yard Around Foundation and What Soil to Use
The area closest to your house matters most. Aim for a clean slope that starts a few inches below the siding or foundation vent and falls away steadily.
Use clean fill dirt, not construction debris or landscaping mulch, right against the foundation. Mulch holds moisture and can invite termites. Keep wood siding and any wood structures at least 6 inches above the finished grade.
Plant grass or groundcover once the grade is set, and add erosion control such as straw or erosion blankets on steeper slopes. Stop soil erosion on a cleared slope with four immediate fixes before the next rain. Water the new surface lightly so seed roots in without washing soil downhill.
Verifying Your Grade and Troubleshooting Drainage That Persists
Verification is a two-part test: a dry check with the string line and a wet check after a heavy rain. If drainage still fails after regrading, learn how to manage property drainage after tree removal, including assessing runoff and installing drainage solutions.
For the dry check, run the string line test again at the same locations you measured during the survey. Confirm the slope drops consistently from the foundation outward and that no low spots remain.
For the wet check, wait for a heavy rain and walk the yard while it is still raining or right after. Watch where water sheets, where it slows, and where it stands.
If water still pools after regrading, work through the likely causes in order:
- A low spot you missed, which needs more fill and re-raveling to the target slope.
- Compacted clay that blocks infiltration, which may need aeration, a drainage pipe, or a change in surface soil.
- Downspouts that discharge too close to the house, which should extend 4 to 6 feet away and be directed to a splash block or a graded path.
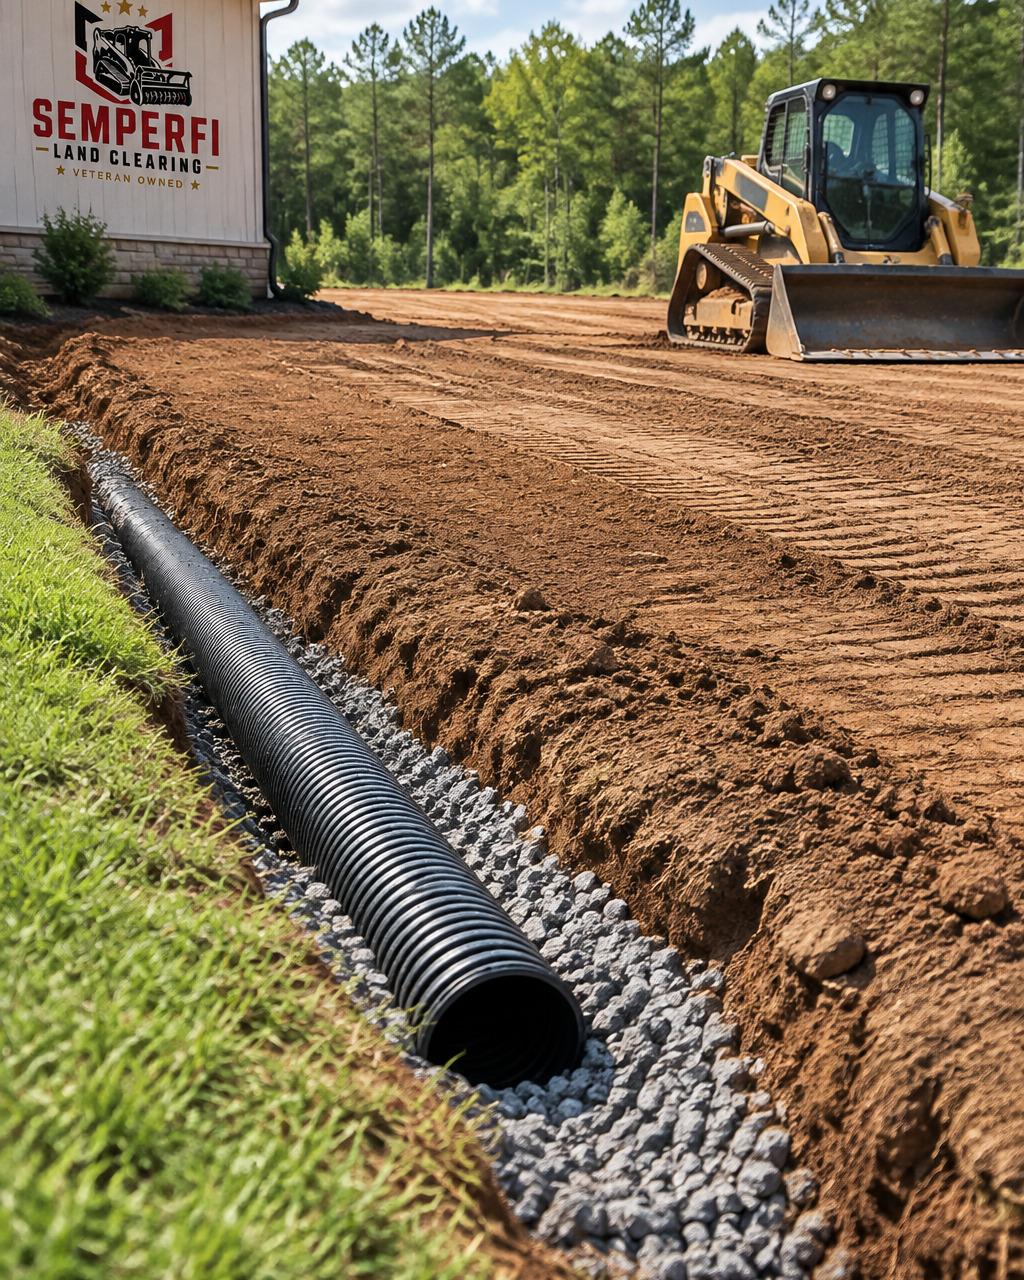
- Runoff from neighboring land or a roof valley that concentrates flow, which may need a swale or French drain to intercept it before it reaches the foundation.
- Groundwater or a high water table, which surface grading alone will not fix and may require subsurface drainage.
A useful way to tell these apart is to watch the timing. Water that appears quickly during rain and drains away soon after is usually a surface grading or roof runoff problem.
If the problem continues after regrading, a site assessment can identify the cause.
Frequently Asked Questions
How should I grade my backyard for drainage?
Start by identifying where water collects and where you want it to go, usually away from the house toward a swale, street or safe discharge area. Aim for a fall of about 2% (roughly 2 inches of drop per 10 feet of run) for the first 10 feet from the foundation, then let the surrounding yard continue sloping gently. Check the grade with stakes, string and a level before you move soil, and confirm that water does not pool or flow onto a neighbor's property afterward.
Is 1% slope enough for drainage?
A 1% slope (about 1 inch of drop per 10 feet) can work on firm, well-compacted soil over a long run, but it leaves little margin for error. Soil settling, compaction and rain intensity can flatten a 1% grade within a season or two. For the area next to a house, most guidance favors at least 2% for the first 10 feet, which gives water a clear path even after some settling.
What soil should I use for grading around a house?
Use a compacted, low-organic fill soil or a clay-loam blend for grading near a foundation, not loose topsoil or heavy mulch that holds water. Add fill in thin lifts of about 4 to 6 inches and compact each lift before adding the next. Avoid organic-rich topsoil directly against the foundation, since it settles and holds moisture. Keep the top few inches as a planting layer if you want grass or beds on the slope.
How do you regrade a yard around a foundation?
Remove debris and sod, then measure the existing grade at several points out from the wall. Add compacted fill to bring the soil down and away from the foundation so it drops at least 6 inches over the first 10 feet, and blend the new slope into the rest of the yard. Finish by checking that gutters discharge beyond the new grade and that water moves away after a heavy rain.