 how-to
Site Preparation Steps for Building a Custom Home
Table of Contents
- Site Preparation Steps for Building a Custom Home: What You Need to Know
- Step 1: Site Survey and Boundary Verification
- Step 2: Topographic Survey and Site Mapping
- Step 3: Soil Testing and Geotechnical Analysis
- Step 4: Site Clearing and Vegetation Removal
- Step 5: Demolition and Removal of Existing Structures
- Step 6: Site Plan Design and Construction Layout
- Step 7: Staking and Grading Your Building Pad
- Frequently Asked Questions
Last Updated: October 8, 2026
Site Preparation Steps for Building a Custom Home: What You Need to Know
Building a custom home starts long before the foundation is poured. Site preparation steps are the foundation of everything that follows. Without proper preparation, you'll face costly delays, structural problems, and complications that ripple through your entire project timeline.
The difference between a smooth build and a troubled one often comes down to how thoroughly you prepare the land. This guide walks you through each essential step, from initial surveys to final grading.
Step 1: Site Survey and Boundary Verification
Your first task is knowing exactly what you own. A site survey establishes your property lines and identifies any encroachments or disputes before construction begins. This step prevents expensive legal problems later.
A professional surveyor uses GPS and ground measurements to mark your boundaries. They'll flag any structures, fences, or utilities that cross property lines.
Why this matters now:
- Prevents disputes with neighbors
- Clarifies where you can legally build
- Identifies easements or right-of-way issues
- Costs far less to fix in planning than during construction
Many property owners skip this step and regret it. A boundary dispute mid-construction can halt work for months. Get the survey done first.
Step 2: Topographic Survey and Site Mapping
Once you know your boundaries, map the terrain itself. A topographic survey shows elevation changes, slopes, water drainage patterns, and natural features across your lot.
This survey identifies where water naturally flows during heavy rain. It shows steep slopes that may need reinforcement. It reveals low spots where water collects.
Your surveyor will create a detailed map showing:
- Elevation contours at regular intervals
- Existing trees, rock outcrops, and water features
- Drainage patterns and watershed direction
- Slopes and grade percentages
This map becomes the foundation for your site plan design. Engineers use it to determine grading requirements and drainage solutions. Without accurate topographic data, your drainage system won't work properly.
Step 3: Soil Testing and Geotechnical Analysis
Soil quality determines how well your foundation will perform. Geotechnical investigation tests soil bearing capacity, composition, and stability. Poor soil requires expensive reinforcement. Good soil saves money and prevents future settling.
A geotechnical engineer drills test holes across your building area. They extract soil samples at various depths. Laboratory analysis determines:
- Soil type and composition
- Bearing capacity (how much weight soil can support)
- Compaction requirements
- Drainage characteristics
- Potential for settling or expansion
Sandy soil drains quickly but may not support weight well. Clay soil supports weight but retains water. Most sites have mixed soil requiring specific foundation approaches.
The geotechnical report guides foundation design and construction methods. It identifies whether you need pilings, special footings, or additional compaction.
Step 4: Site Clearing and Vegetation Removal
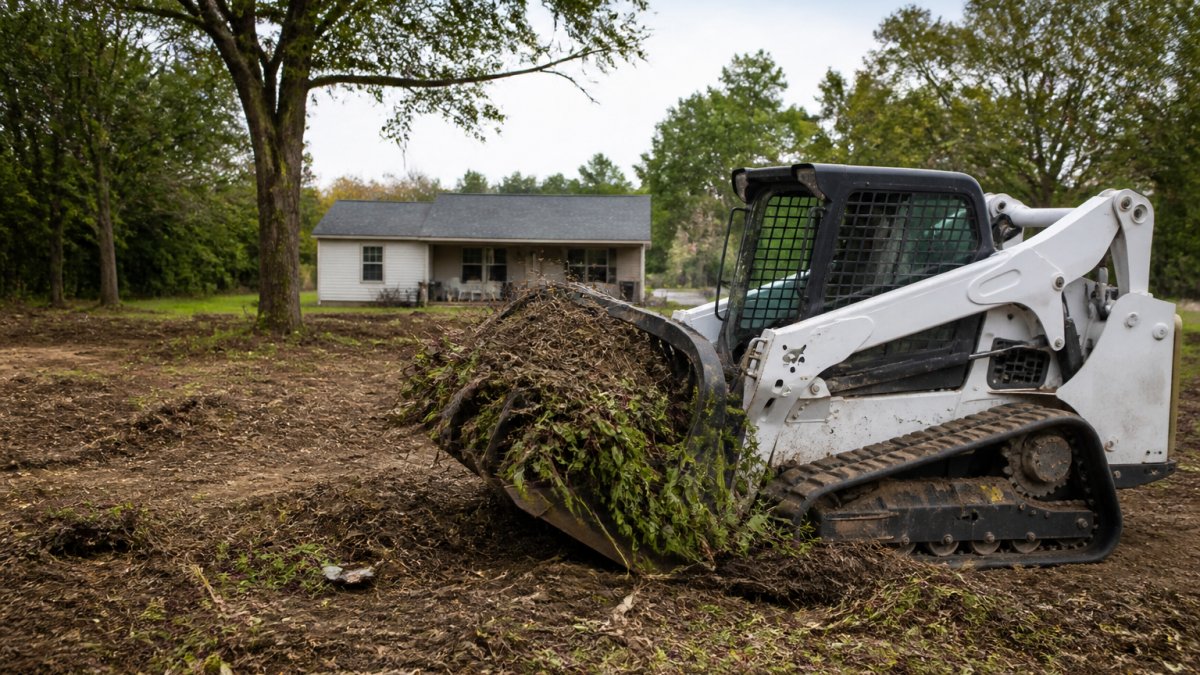
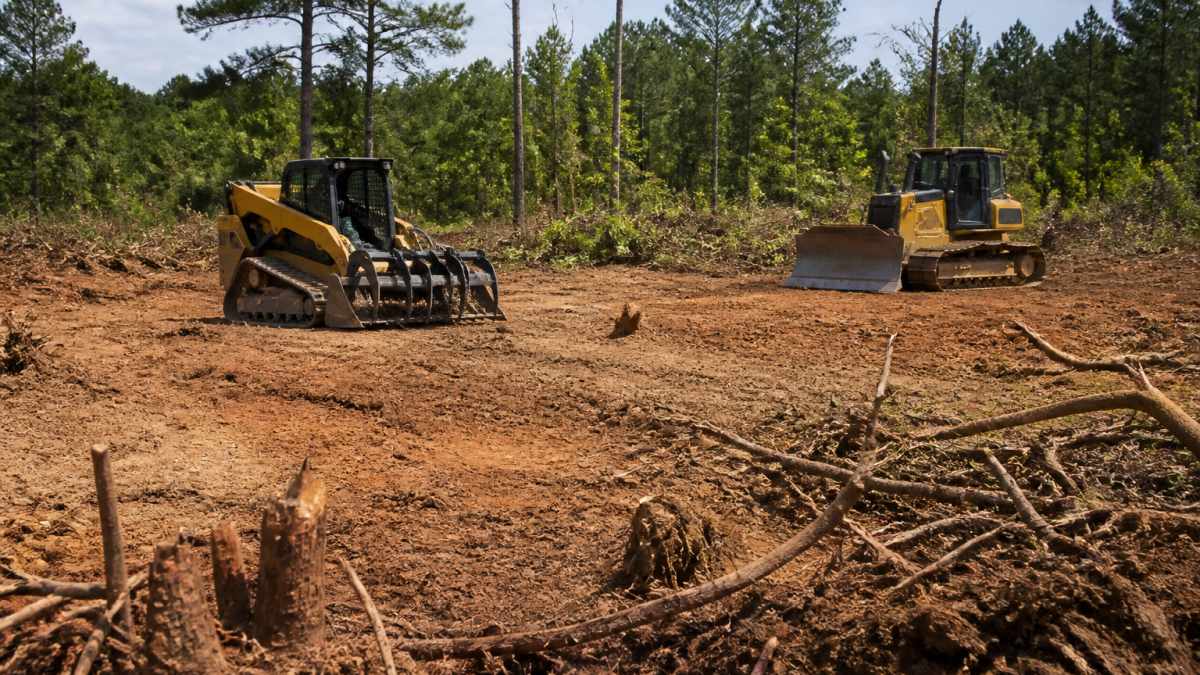
With surveys and soil analysis complete, remove obstacles from your building area. Site clearing removes trees, brush, stumps, and other vegetation blocking construction.
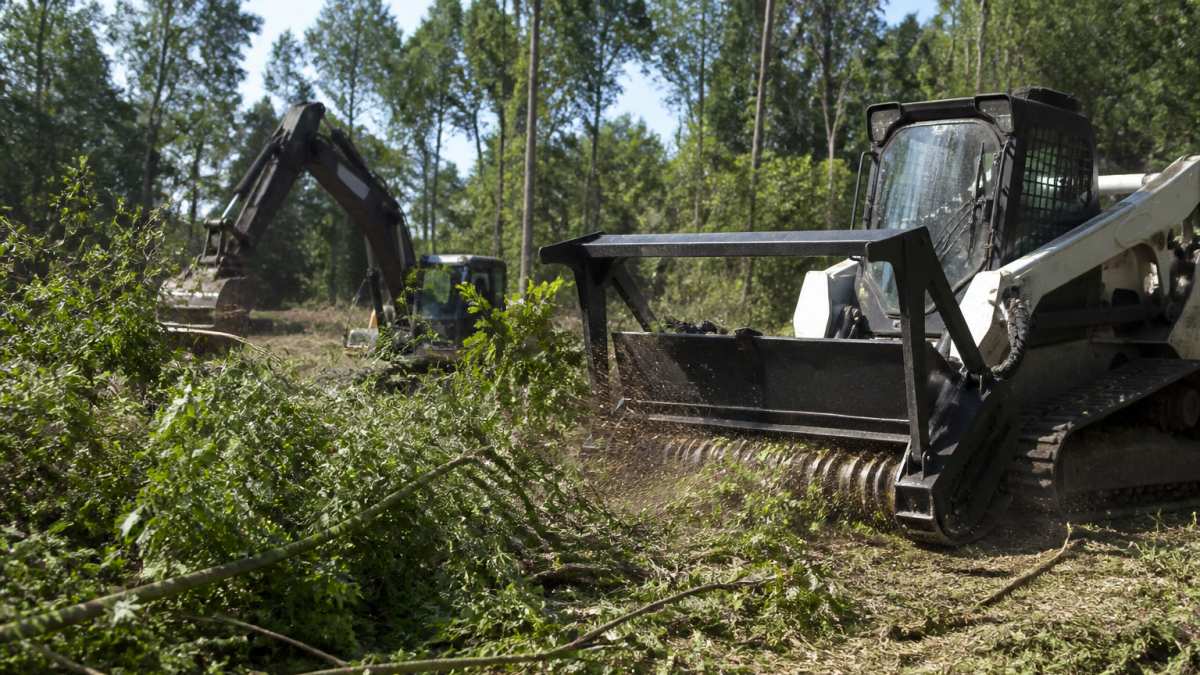
This is where many property owners see the value of professional land clearing.
What gets cleared:
- Trees outside the building footprint but blocking access
- Dense brush and undergrowth
- Dead or diseased trees
- Stumps and root systems
- Surface rocks and debris
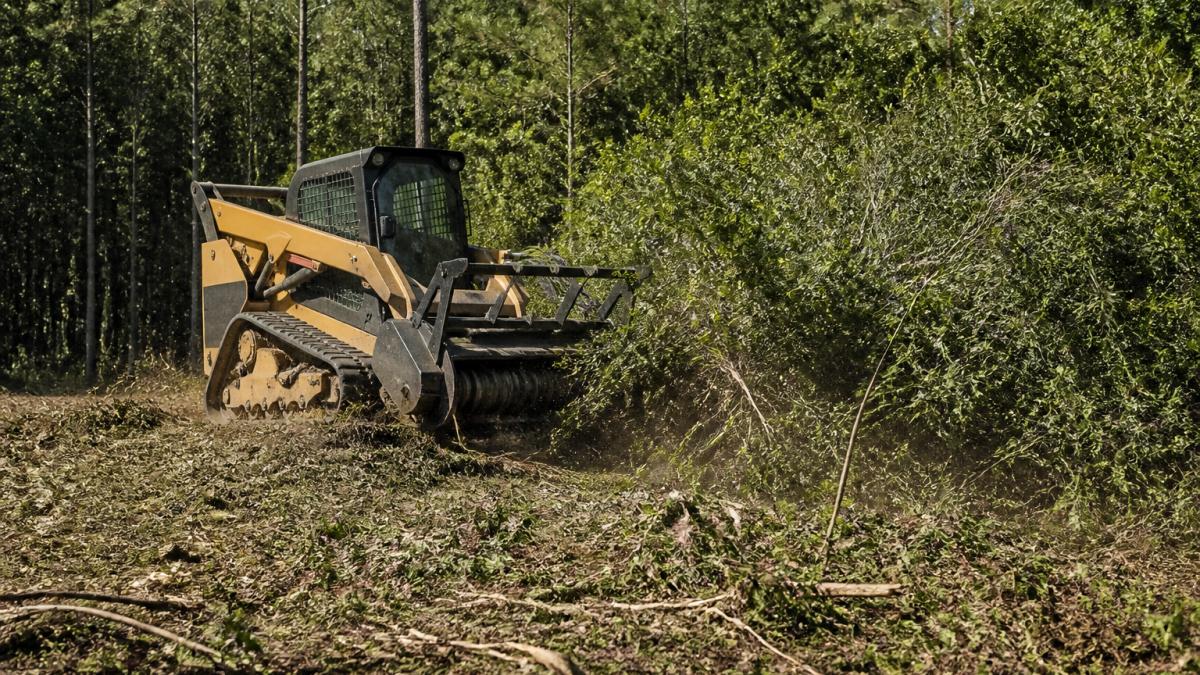
Forestry mulching is an efficient approach for heavy overgrowth. Equipment grinds trees and brush into mulch on-site.
Clearing should be strategic. Remove what blocks construction and access. Preserve mature trees that add value and provide wind protection.
Step 5: Demolition and Removal of Existing Structures
If your lot has old buildings, foundations, or debris, demolition must happen before grading. Buried concrete, asphalt, and rubble create voids that cause uneven settling.
Demolition contractors remove structures completely, including foundations. They haul away debris or crush it for use as fill material. Proper demolition prevents hidden problems under your new home.
Key demolition concerns:
- Complete removal of all foundations
- Proper disposal of hazardous materials
- Verification that no debris remains buried
- Restoration of ground level after removal
The demolition contractor should provide documentation showing what was removed and where. This record protects you if problems emerge later.
Step 6: Site Plan Design and Construction Layout
With the site cleared and analyzed, your site plan translates surveys and soil data into a construction blueprint. The site plan shows where your home will sit, how utilities will run, and where drainage will flow. It is also the document that unlocks your permits, and the document inspectors will measure your finished work against.
An engineer or architect creates this plan using your topographic survey and geotechnical report. The plan addresses:
- Building footprint location and orientation
- Driveway and access road layout
- Utility trenches for water, sewer, electric, and gas
- Stormwater drainage and management
- Grading slopes and elevation changes
- Erosion control measures
- Tree protection zones and limits of disturbance
The permit and approval sequence
Site-development approvals rarely happen in a single visit. A typical sequence for a custom home looks like this:
- Zoning and land-use verification, Confirm the lot's zoning district, setbacks, lot coverage limits, height limits, and any overlay districts (floodplain, watershed, historic, hillside). This is a desk review at the planning counter and is usually free or low-cost.
- Environmental and health-department review, If the lot has wetlands, streams, steep slopes, or is served by a septic system, separate approvals are often required before the building permit. Wetland buffers and septic perc tests can each add weeks.
- Grading and erosion-control permit, Many jurisdictions require a separate grading permit or a stormwater pollution prevention plan (SWPPP) when disturbed area exceeds a threshold (commonly one acre, though local triggers vary).
- Building permit, Submitted with the site plan, architectural drawings, structural drawings, and the geotechnical report. Plan review timelines vary widely by jurisdiction and by how complete the submittal is.
- Utility connection applications, Water, sewer (or septic), electric, and gas each have their own application, fee, and inspection process. These run in parallel with the building permit, not after it.
Inspections you should expect during site work
Inspection names and triggers vary by jurisdiction, but a common pattern includes:
- Erosion-control inspection before any ground disturbance and again after major rain events
- Footing inspection after excavation but before concrete is placed
- Foundation inspection after forms and reinforcement are in place, before the pour
- Backfill and drainage inspection after waterproofing and drain tile are installed
- Final grading and drainage inspection before the certificate of occupancy
Your general contractor typically schedules these, but the owner should know the sequence so a missed inspection doesn't stall the schedule.
Why requirements vary so much
Two lots on the same street can have different requirements. A lot inside city limits may be governed by a municipal building department; the same lot just outside may fall under a county or state authority. Floodplain designation, proximity to a protected waterway, slope, and soil conditions can each trigger additional review. Before you buy a lot or finalize a design, pull the parcel's zoning and environmental designations and confirm the approval path in writing with the local planning department.
Step 7: Staking and Grading Your Building Pad
Staking marks the exact location of your home on the ground.
Grading shapes the land to match the site plan. Excavators remove soil from high spots and fill low spots.
Grading requirements depend on:
- Natural slope of your lot
- Soil type and bearing capacity
- Drainage direction from your site plan
- Local building code requirements
- Foundation type (slab, crawl space, or basement)
Proper grading is critical. A pad that slopes toward your foundation will channel water under the house. A pad that slopes away sheds water safely.
The grading contractor uses the staked corners and the site plan to shape the pad.
Compaction: how it is actually verified
The geotechnical report specifies a required compaction density, commonly expressed as a percentage of maximum dry density (for example, 95% under footings and slabs, though the engineer sets the number).
Verification is done by a third-party testing firm, not by the grading contractor. Common field tests include:
- Nuclear density gauge, the most common field method; gives a reading in minutes
- Sand cone test, a slower, more precise alternative
- Plate load test, used when bearing capacity, not just density, needs confirmation
The tester documents each lift and location. If a lift fails, it is reworked and retested before the next lift goes down. Ask for the test reports before the foundation contractor mobilizes, a pad that was never tested is a pad you cannot trust.
Utility coordination before foundation work
Site work and utility work overlap, and the sequencing matters. Before the foundation is poured, confirm:
- Existing utility locates, Call 811 before any excavation (811 Before You Dig). Locate requests are free, but they take a few business days, and unmarked private lines (irrigation, septic, landscape wiring) are the owner's responsibility to identify.
- Temporary construction services, Temporary power (a construction meter or generator) and temporary water are usually needed before framing. Apply early; utility connection queues can run weeks.
- Permanent service stubs, Water, sewer, electric, and gas stubs should be roughed in to the building footprint before the slab or foundation walls are placed. Missed stubs mean cutting concrete later.
- Septic or well coordination, If the lot is not on public utilities, the septic designer and well driller must coordinate with the grading plan so the drainfield and wellhead are not disturbed.
Readiness checklist before foundation work
Before excavation for footings or a slab pour, verify each item:
- Building corners staked and verified against the approved site plan
- Pad elevations match the engineered plan (spot-check with a laser level or surveyor)
- Pad slopes away from the building footprint at the specified minimum (commonly 2-6% in the first 10 feet, per the plan)
- Compaction test reports on file and passing
- Utility stubs roughed in and located
- Erosion-control measures installed and inspected
- Drainage swales and downspout discharge points graded and clear
- Tree protection fencing still in place around preserved trees
- Site access stable enough for concrete trucks and pump equipment
Common grading mistakes:
- Insufficient slope away from foundation (minimum 2-3%)
- Inadequate soil compaction
- Failing to follow site plan specifications
- Removing topsoil that should be preserved
- Creating low spots where water collects
- Pouring footings before compaction is verified
After grading, the pad should be level across the building footprint. Water should flow visibly away from the home in all directions. The site should match the engineered site plan, and you should have the paperwork to prove it.
Frequently Asked Questions
What are the main site preparation steps for building a custom home?
Site preparation involves seven core steps: boundary surveying to verify property lines, topographic surveying to map the terrain, soil testing to assess foundation conditions, vegetation and debris removal, demolition of any existing structures, site plan design and staking the building footprint, and final grading and drainage work. Each step builds on the previous one to ensure your lot is ready for foundation work and construction.
How long does site preparation take for a custom home?
Timeline varies based on lot size, existing conditions, and local permitting. Simple lots with minimal clearing may take 2-4 weeks, while complex sites with heavy vegetation, soil remediation, or utility coordination can take 2-3 months or longer. Weather delays, permit approvals, and equipment availability also affect scheduling. Your contractor should provide a detailed timeline during the site assessment.
What should be included in a custom home site preparation checklist?
A complete checklist includes: property line verification, soil and geotechnical testing, permits and inspections, vegetation and debris removal plan, utility location and coordination, drainage and grading design, equipment access routes, erosion control measures, temporary construction services (water, power, waste), and final quality inspections before foundation work begins. Assign clear responsibility for each item between you, your builder, and your site preparation contractor.
How much does site preparation typically cost for a custom home?
Site preparation costs depend on lot size, existing conditions, vegetation density, soil quality, required grading, drainage complexity, and local labor rates. Costs can range significantly based on these factors. Contact your local site preparation contractor for a free assessment and detailed quote. Many contractors, including SemperFi Land Clearing LLC, offer free land assessments to give you accurate pricing for your specific property.