 how-to
Manage Property Drainage After Clearing Trees
Table of Contents
- Why Tree Removal Changes Your Drainage
- Assess Drainage Conditions After Clearing
- Land Grading After Tree Removal
- Yard Drainage Solutions for Standing Water
- French Drain Installation for Property Drainage
- How to Prevent Soil Erosion After Land Clearing
- Maintenance and Monitoring Plan
- Frequently Asked Questions
Last Updated: October 19, 2026
Why Tree Removal Changes Your Drainage
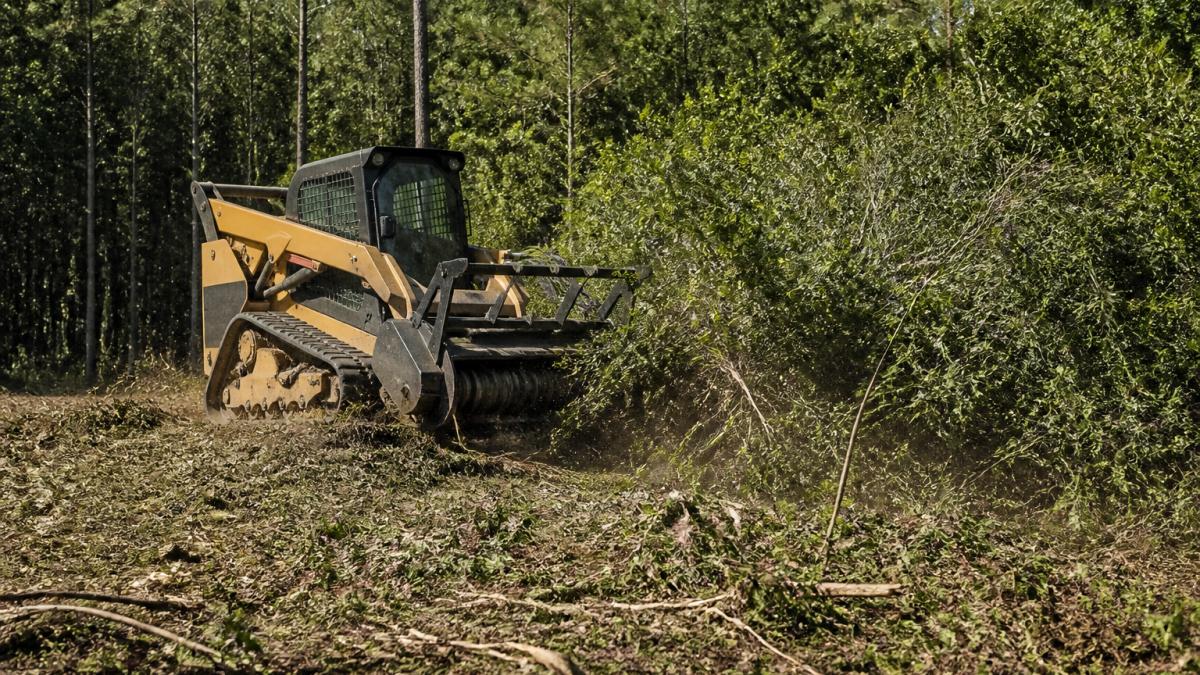
Clearing trees changes how water moves across your land.
This is where property drainage after clearing trees becomes critical.
Owners clear overgrowth expecting a clean slate and instead inherit surface runoff issues. These problems are predictable and manageable if you understand what's happening.
The key is assessing your site right after clearing and implementing solutions before water damage compounds. This guide covers property drainage after clearing trees, from assessment to long-term maintenance.
Assess Drainage Conditions After Clearing
Before planning any drainage solution, understand your current water situation. The assessment answers three questions: where water enters the property, where it collects, and where it leaves.
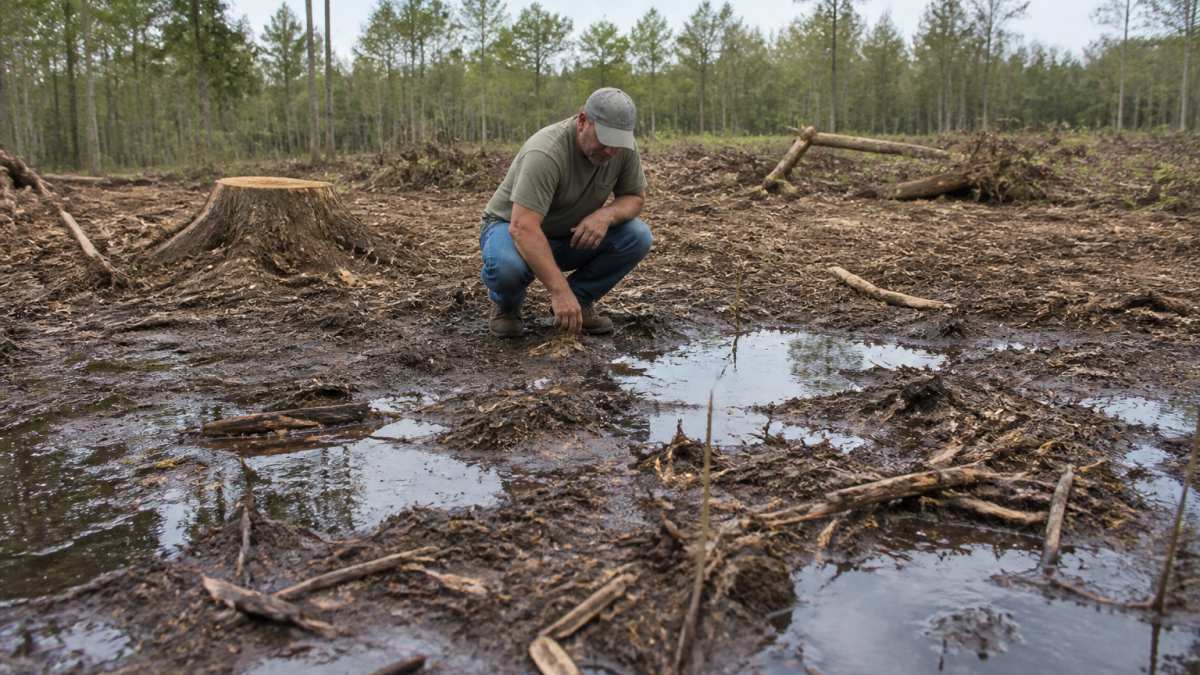
Walk the property after clearing and look for these signs:
- Standing water that pools in low spots and doesn't drain within 24 hours
- Waterlogged soil that stays soggy even days after rain
- Water runoff patterns that flow toward buildings, driveways, or neighboring properties
- Exposed soil where water is visibly eroding or washing away
- Compacted areas from equipment that prevent water infiltration
Take photos from multiple angles and note which areas stay wet longest. This tells you where water naturally collects and where your biggest drainage challenges lie.
A Step-by-Step Post-Clearing Inspection
A quick walk-around isn't enough after trees come down, because losing canopy and roots changes how water moves.
Step 1: Map the slope. Stand at the high point and look downhill.
Step 2: Identify low spots and collection points. Mark every dip along the perimeter and interior, these pool first after rain.
Step 6: Note what the trees were doing. Stumps and root plates show where trees took up water.
Common Drainage Issues After Tree Removal
- Water pooling near building foundations
- Erosion gullies forming in cleared areas
- Muddy patches that won't support new growth
- Runoff flowing toward roads or neighboring properties
- Settling around removed stumps that creates new low spots
Prioritize What You Find
Not every wet spot needs a drainage project. Rank findings in this order: water threatening a foundation first, water crossing a property line or entering a road or waterway second, active erosion third, nuisance wet areas last. That keeps you from funding a cosmetic fix while a structural risk goes unaddressed.
Document everything with photos and notes, including the date and how long after rain you observed each condition. This record guides every decision and shows a contractor, engineer, or permitting office what the site looked like before work began.
Land Grading After Tree Removal
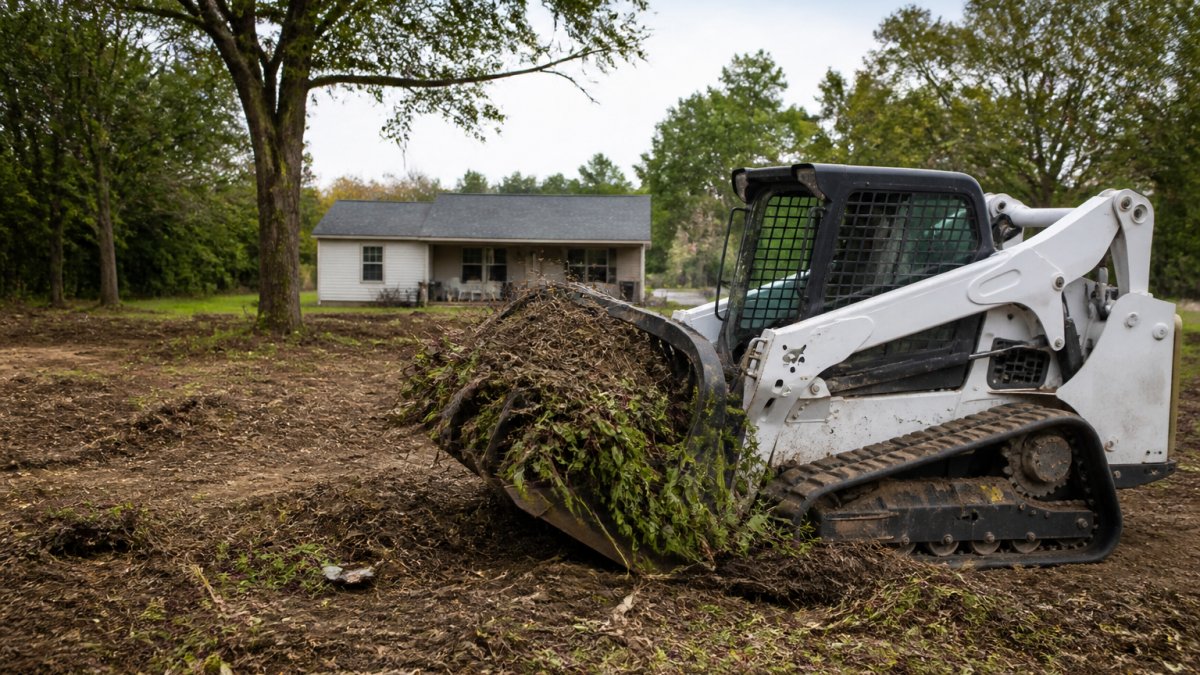
Grading is your first line of defense, reshaping the land so water flows away from problem areas instead of pooling. The goal is simple: create slope. Flat land or land sloping toward your house collects water; proper grading tilts it so runoff moves to designated drainage areas.
Here's what effective grading looks like:
- Slope of at least 2% (roughly 2 feet of drop per 100 feet of distance) away from structures
- Smooth, even surfaces without low spots where water can collect
- Defined drainage channels that guide water safely away from buildings and property lines
- Compacted soil that can support new vegetation or construction
Grading requires heavy equipment, typically a bulldozer or grader, this is not a DIY project, and poor grading creates new problems. Timing matters: grade soon after clearing while the site is exposed. Once vegetation returns, reshaping becomes exponentially harder and more expensive.
Yard Drainage Solutions for Standing Water
After grading, you may still face standing water in specific low areas. The right solution depends on site conditions, soil type, and water volume. The most common approaches:
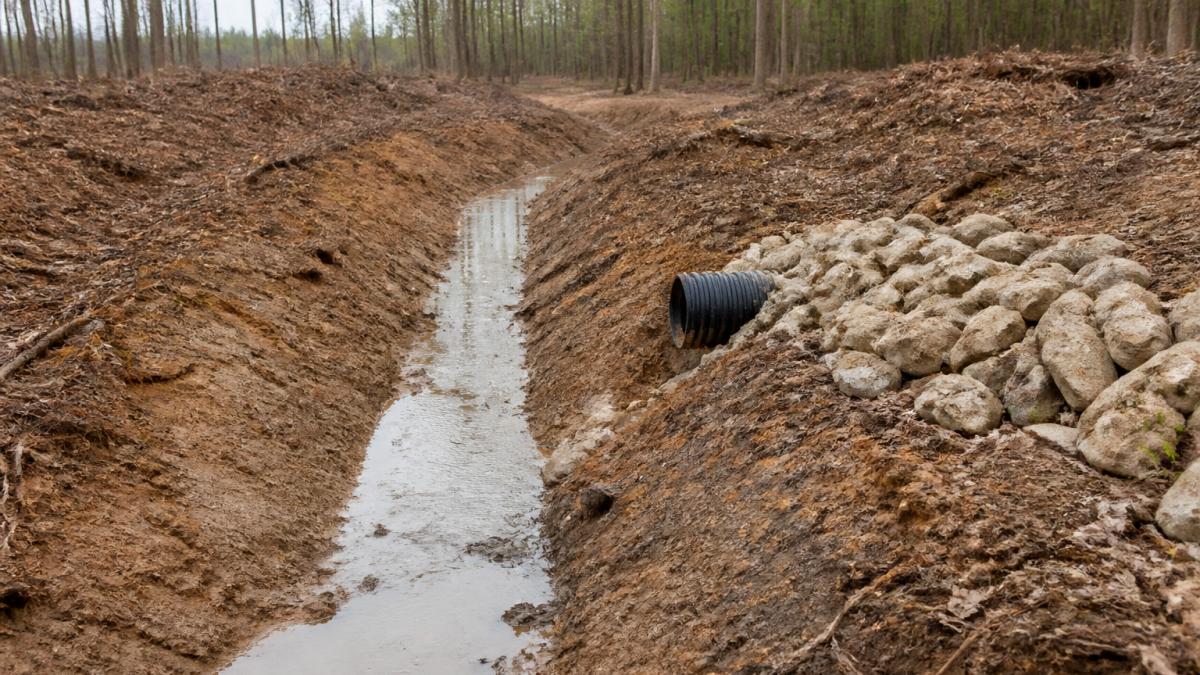
Surface Drainage Dig shallow channels or swales that guide water away from problem areas. Best for moderate water volumes and gentle slopes; visible but effective and relatively inexpensive.
Dry Wells Dig a deep pit, fill it with gravel and perforated pipe, and cap it. Water percolates into the soil below. Best for sites with good infiltration and moderate water volumes.
Catch Basins Install a basin at the low point where water collects, then pipe water to a safe discharge point downslope or to a storm drain.
Permeable Surfaces Replace compacted soil with permeable materials that let water soak in rather than pool on top. Works well where you want to restore vegetation or create usable space.
Each has trade-offs: surface drainage is cheap but visible, dry wells are invisible but soil-dependent, catch basins are reliable but costly. SemperFi Land Clearing LLC offers free land assessments to evaluate your drainage conditions and recommend the right solution.
French Drain Installation for Property Drainage
A French drain is one of the most effective solutions for managing standing water and property drainage after clearing trees. A trench is dug at a slight downward slope, filled with gravel and a perforated pipe, then covered.
French drains excel at:
- Removing water from low spots and waterlogged areas
- Protecting building foundations from pooling water
- Handling moderate to heavy water volumes
- Working in most soil types
The installation process involves several steps:
- Determine the slope and direction water should flow
- Dig a trench at least 12-18 inches deep, sloping downward
- Lay landscape fabric to prevent soil from clogging the gravel
- Add 4-6 inches of gravel as a base
- Lay perforated drainage pipe on the gravel
- Cover the pipe with more gravel
- Top with landscape fabric and soil
The drain must descend continuously toward the discharge point, any flat sections trap water. Discharge matters too: water must flow safely away from structures and property lines, or into a designated drainage area. Poor discharge planning creates new problems downslope.
French drains are an investment but solve persistent drainage problems permanently.
How to Prevent Soil Erosion After Land Clearing
Erosion accelerates after tree removal. Without roots holding soil, rain washes topsoil away, slopes become gullies, sediment clouds nearby water sources, and bare soil compacts and loses its ability to absorb water. Raindrops seal the bare surface so water runs off instead of soaking in; runoff concentrates in rills that cut into gullies. Prevention breaks that chain at the first step: keep rain off bare ground, slow the water, and trap sediment before it leaves the site.
Sequence the Work Correctly
Erosion control is a schedule, not a shopping list. The order matters more than any single product.
- Stabilize before the next rain. Seed or mulch exposed soil within days of clearing, not weeks. The first 30 days are the highest-risk window because the soil is bare and the root network is gone.
- Protect the downslope edge first. Install silt fence or another perimeter control along the downslope boundary before you grade, so sediment is trapped at the property line rather than leaving the site.
- Grade in short phases. Disturb only the area you can stabilize before the next storm. Clearing and grading the entire property at once leaves too much bare ground to protect.
- Stabilize steep slopes immediately. Slopes above roughly 3:1 (about 18 inches of rise per 4 feet of run) need matting, blankets, or temporary cover the same day they are exposed.
- Restore vegetation last, but plan it first. Permanent cover takes time to establish, so temporary cover has to carry the site through at least one full growing season.
Temporary Stabilization Methods
Mulch is the fastest and cheapest cover. A 2- to 3-inch layer of wood chips or straw absorbs raindrop impact and slows runoff.
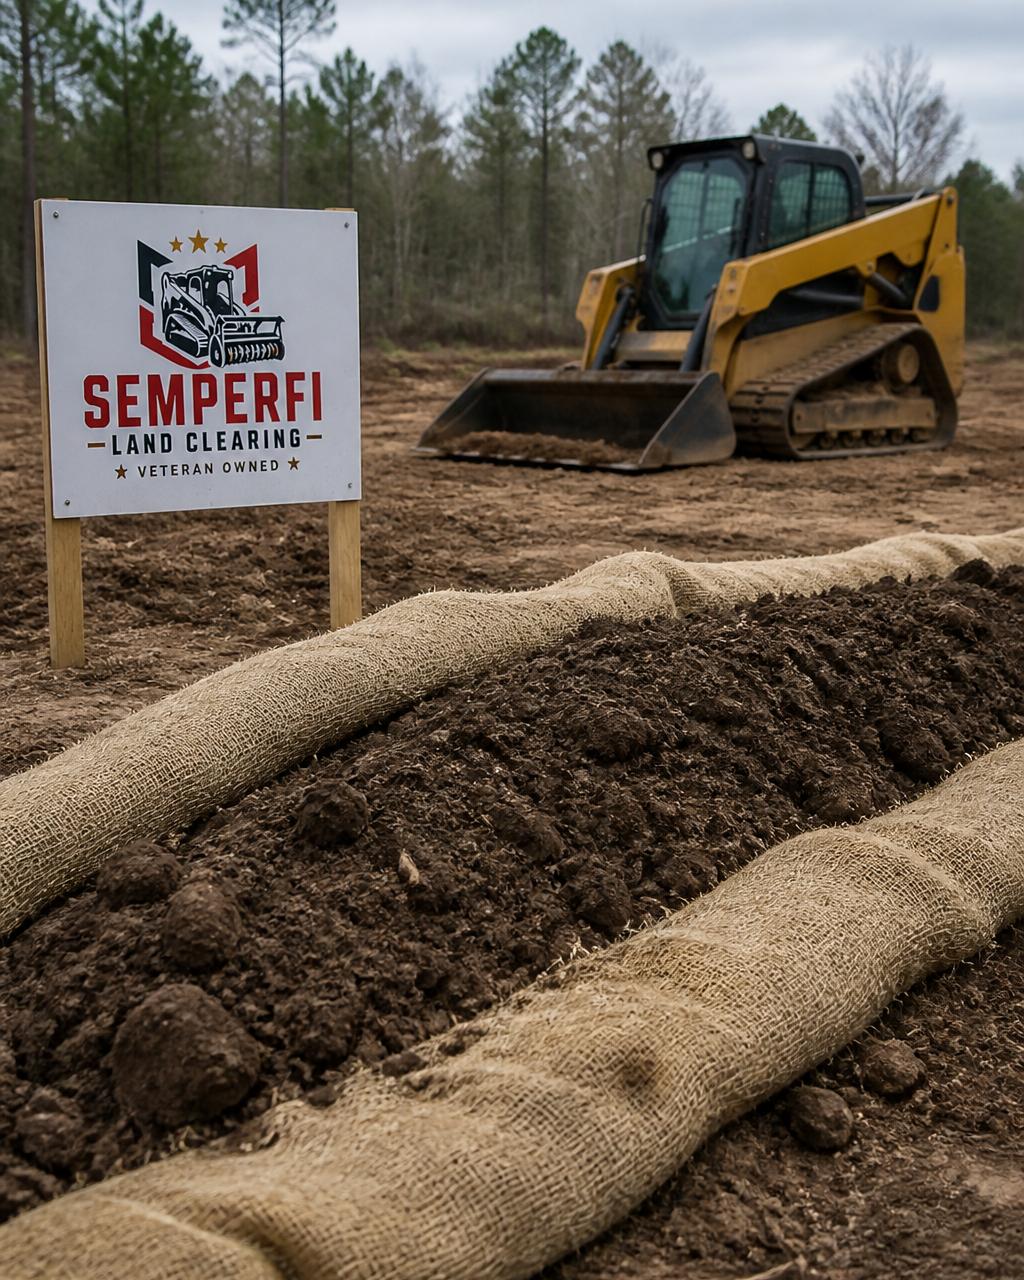
Erosion control matting and blankets are used on slopes and in channels where mulch would wash away.
Silt fence is a perimeter control, not a slope fix.
Sediment basins and check dams slow water and let sediment settle before runoff leaves the site.
Temporary seeding with a fast-germinating cover crop holds soil while permanent vegetation establishes.
Protect Neighboring Land and Waterways
Sediment leaving your property is the most common complaint after clearing, and the most preventable. Keep these points in mind:
- Keep clean water clean. Divert upslope runoff around disturbed areas where possible.
- Never discharge directly to a ditch, stream, or storm drain without sediment control. Trap sediment first, then release the water.
- Respect buffers. Leave undisturbed vegetation along property lines and watercourses where local rules require it; these buffers filter runoff and are often regulated.
- Check local requirements before you start. Many jurisdictions require a sediment and erosion control plan, and some a permit, for land-disturbing activity above a certain area. Thresholds vary by state and locality, so confirm with your local building or environmental office before clearing or grading.
- Inspect after every storm. Walk the perimeter, check the silt fence, clear debris from channels, and repair any rill or gully before it grows.
Restore Vegetation Strategically
- Plant native species suited to your soil and drainage conditions
- Use deep-rooted plants on slopes to stabilize soil
- Establish dense ground cover in high-erosion areas
- Consider shrubs and trees once soil is stabilized
Erosion control isn't just about preventing mud. Sediment runoff degrades water quality, can violate local regulations, and damages neighboring properties. Prevention is far cheaper than cleanup, and the first 30 days after clearing matter most. Get protection in place immediately, then inspect and repair until permanent vegetation takes over.
Maintenance and Monitoring Plan
Your drainage work isn't finished once the project ends. Ongoing maintenance keeps everything functioning properly.
Monthly checks during rainy season:
- Walk the property after heavy rain and observe water flow
- Check for new pooling or erosion
- Ensure drainage channels and swales remain clear of debris
- Look for sediment accumulation in catch basins or French drains
Quarterly maintenance:
- Clear debris from drainage structures
- Check that discharge points remain open and flowing
- Inspect vegetation for signs of stress or failure
- Repair eroded areas promptly
Annual tasks:
- Inspect French drain discharge and clean if needed
- Assess vegetation and replant where cover is thin
- Review grading to confirm slope is holding
- Check for new erosion gullies or problem areas
Document everything. Photos from the same spots over time reveal patterns: is water pooling in new areas, is vegetation establishing, are erosion problems worsening or stabilizing?
Set phone reminders for your monthly drainage checks. Most problems emerge gradually. Regular observation catches issues before they become expensive. A 10-minute walk after rain is far cheaper than emergency drainage repair.
Common maintenance mistakes include:
- Ignoring standing water, assuming it will eventually drain
- Allowing debris to clog drainage structures
- Planting trees or heavy vegetation that destabilizes slopes
- Failing to maintain discharge points, causing water to back up
- Skipping erosion control in the first month after clearing
The goal is simple: keep water moving away from structures and problem areas. Monitor regularly, maintain consistently, and address issues promptly.
Managing property drainage after clearing trees requires planning, the right solutions, and consistent maintenance.
SemperFi Land Clearing LLC helps property owners navigate this entire process. Our free land assessment identifies your specific drainage challenges and recommends solutions tailored to your site.
Frequently Asked Questions
Why does water pool after trees are removed?
Tree roots absorb significant water and roots create channels that improve soil infiltration. When trees are cleared, those root systems disappear, and the soil becomes compacted from equipment use. This reduces water absorption capacity. Additionally, trees intercept rainfall before it reaches the ground. Without this interception, more water reaches the surface at once, overwhelming drainage pathways and creating standing water in low spots.
Can I dig a hole and fill it with gravel for drainage?
A gravel-filled hole alone is not an effective drainage solution. Gravel may temporarily hold water but does not redirect it away from your property. For lasting drainage improvement, you need proper grading to direct surface runoff or a subsurface system like a French drain that channels water to a suitable outlet. Gravel works best as part of a larger drainage strategy, such as a perimeter drain or swale system.
How can I prevent soil erosion after clearing trees?
Prevent erosion by stabilizing exposed soil immediately after clearing. Establish ground cover through seeding, mulching, or planting vegetation. Install erosion control measures like silt fencing or sediment barriers on slopes. Avoid leaving bare soil exposed for extended periods. Proper grading to direct water flow away from erodible areas, combined with vegetation establishment, provides the most effective long-term erosion control and protects both your soil and nearby properties.
When should I install a French drain after land clearing?
Install a French drain after grading is complete and the soil has settled, typically 2-4 weeks after clearing. First, assess your drainage conditions to confirm a subsurface drain is needed. If standing water persists after grading or if groundwater is near the surface, a French drain redirects water before it saturates soil. Professional assessment helps determine placement, depth, and outlet location to ensure effectiveness and compliance with local drainage easements.