 how-to
How to Design Deer Travel Corridors: A Step-by-Step Guide
Table of Contents
- What Deer Travel Corridors Are and Why They Matter
- How to Identify Existing Deer Travel Routes on Your Property
- Mapping Food Sources, Bedding Areas, and Terrain Features
- Determining Deer Travel Corridor Width and Layout
- Building Dense Cover Along Travel Routes
- Implementing Deer Habitat Edge Feathering Techniques
- Optimizing Deer Food Plot Placement for Corridor Access
- Monitoring, Adjusting, and Maintaining Your Corridors
- Frequently Asked Questions
Last Updated: October 13, 2026
What Deer Travel Corridors Are and Why They Matter
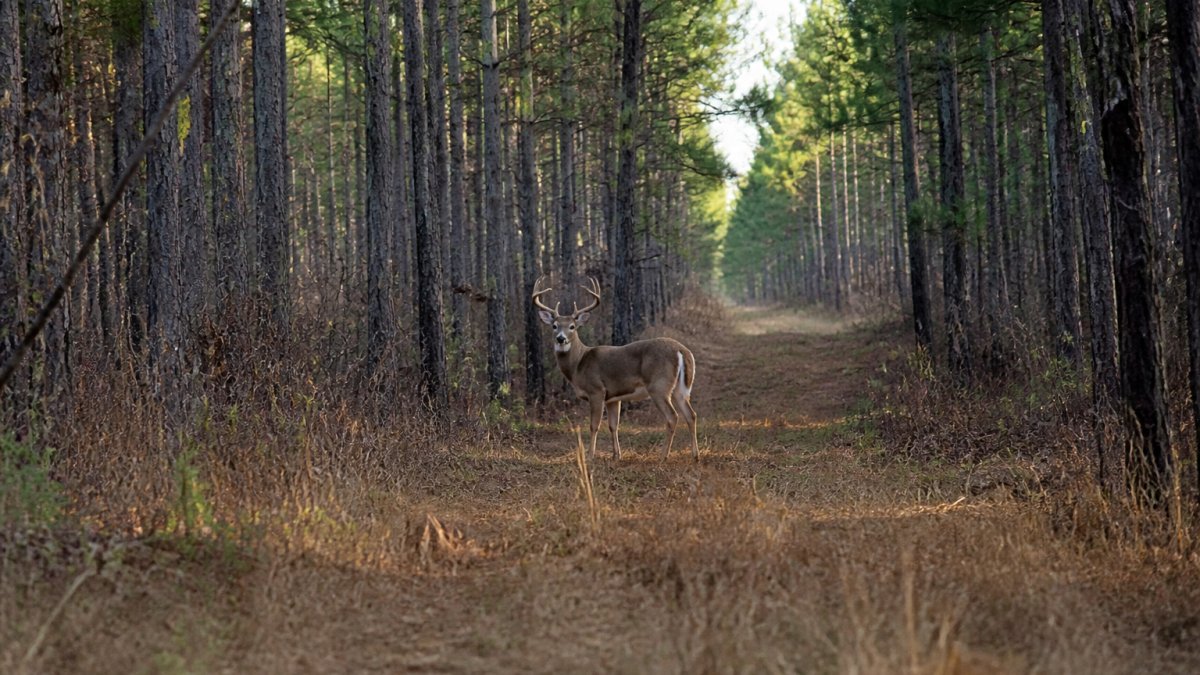
Deer travel corridors are pathways that connect bedding areas to food sources. These routes allow deer to move safely between where they rest and where they feed. At SemperFi Land Clearing LLC, we help property owners understand how strategic land management creates these natural highways on their acreage.
Think of a deer travel corridor as a bridge between two critical zones.
If your property has both food and bedding, deer will find the path between them. Your job is to make that path obvious and attractive with strategic cover.
Mature bucks follow the same travel patterns daily when food and cover align, which means better hunting and improved habitat health.
How to Identify Existing Deer Travel Routes on Your Property
Scout during winter and early spring, when sparse vegetation reveals the clearest deer sign. Look for:
- Worn trails in leaves and grass where hooves have packed down soil
- Rubs and scrapes on trees where bucks mark territory
- Droppings clustered along specific paths
Walk your property systematically, paying attention to natural low points between ridges. Deer prefer terrain that requires less energy to cross.
Look for trails that funnel into narrow passages, bottlenecks where travel corridors naturally form.
Document your findings: mark trails on a map or take GPS-tagged photos, noting which show the most activity. Fresh sign indicates recent use; older sign suggests seasonal routes.
Mapping Food Sources, Bedding Areas, and Terrain Features
Corridor design starts with understanding your property's three key zones: where deer bed, where they eat, and what terrain connects them.
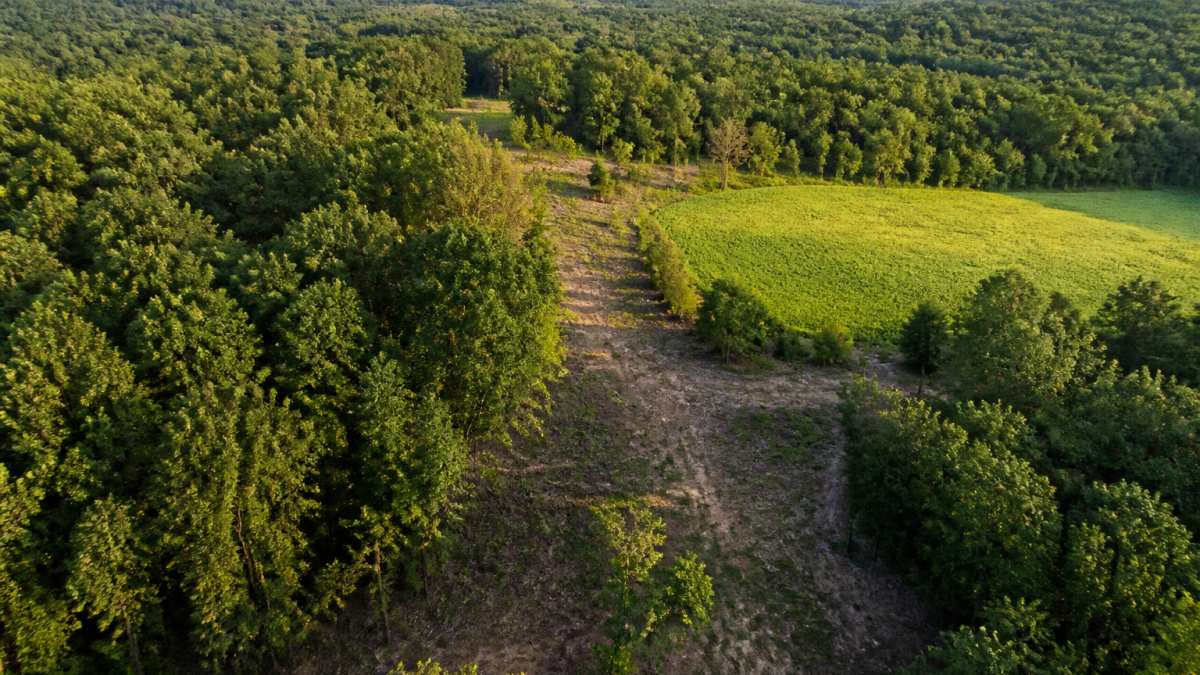
Food sources include natural mast (acorns, nuts), browse (shrubs and saplings), and planted food plots.
Terrain features act as natural highways: ridgelines, creek bottoms, and saddles between hills guide deer movement.
Map these three elements, then draw lines connecting bedding to food.
Corridors under 200 yards are tighter and more predictable; longer ones give deer more options.
Determining Deer Travel Corridor Width and Layout
Most working corridors fall between 30 and 60 feet wide, but the right number depends on cover density, property size, and how many routes you want deer to have. Treat width as a dial: secure enough for daylight use, narrow enough to concentrate movement.
Width by cover type
Cover density drives width more than acreage. Use this framework, then adjust after a season of observation:
- Dense regrowth or young timber (thick stem count, low visibility): 20-30 feet is often enough. Deer feel hidden within a few steps of the edge.
- Mixed hardwood with a broken understory: 30-45 feet. You need enough width to buffer sight lines from adjacent open ground.
- Open woodland or recently thinned stands: 45-60 feet, or add shrub and grass plantings to tighten the effective width rather than clearing more.
A useful test: stand at the corridor edge at deer eye level (about 3 feet) and look down its length. If you can see more than roughly 30-40 yards of open sight line, it is too thin or too open to hold daylight movement.
Spacing and number of corridors
On most properties, one primary corridor plus one or two secondary routes beats a network of thin paths:
- Under 10 acres: one primary corridor, 30-40 feet wide, connecting the best bedding cover to the most reliable food source. Skip secondary routes unless the property has two distinct bedding areas.
- 10-40 acres: one primary corridor plus one secondary route as an alternate when hunting pressure or wind shifts deer off the primary.
- 40-100+ acres: two to three primary corridors spaced at least 150-250 yards apart, each anchored to its own bedding-to-food connection. Parallel corridors that run close together split the same movement instead of creating new movement.
Layout rules that hold up
- Follow the contour, not the compass. Corridors along ridgelines, creek bottoms, and saddles work with deer's natural path of least resistance. Forcing a straight line across a slope or open field rarely holds up.
- Keep a consistent effective width. A corridor that pinches to 10 feet in one spot and balloons to 80 feet in another creates an ambush point deer learn to avoid. Aim for even cover density end to end.
- Plan for wind. Deer approach food into the wind and bed downwind. Lay out corridor entrances so a deer can wind-check the opening before stepping into it.
Trade-offs to weigh before you cut
Wider is not automatically better. A 60-foot corridor can scatter movement and make deer harder to pattern; a 20-foot corridor concentrates movement but may be abandoned under predator, dog, or hunter pressure.
A note on small properties
On parcels under 10 acres, you usually cannot build a true corridor from scratch. Reinforce an existing fencerow, hedgerow, or drainage ditch with shrub and grass plantings and treat that linear feature as your corridor. The width may only be 15-20 feet, but if the cover is dense enough, deer will use it.
Building Dense Cover Along Travel Routes
Dense cover is the foundation of functional deer travel corridors. Without it, deer feel exposed and avoid the route during daylight.
Remove sparse trees and brush with no cover value, keep trees with dense canopies and thick lower branches, and remove mid-story trees that create sight lines.
Effective cover includes:
- Brush piles made from cleared branches stacked 4-6 feet high
- Timber stands with dense understory (dogwood, holly, young hardwoods)
- Tall grasses planted in open areas (switch grass, big bluestem)
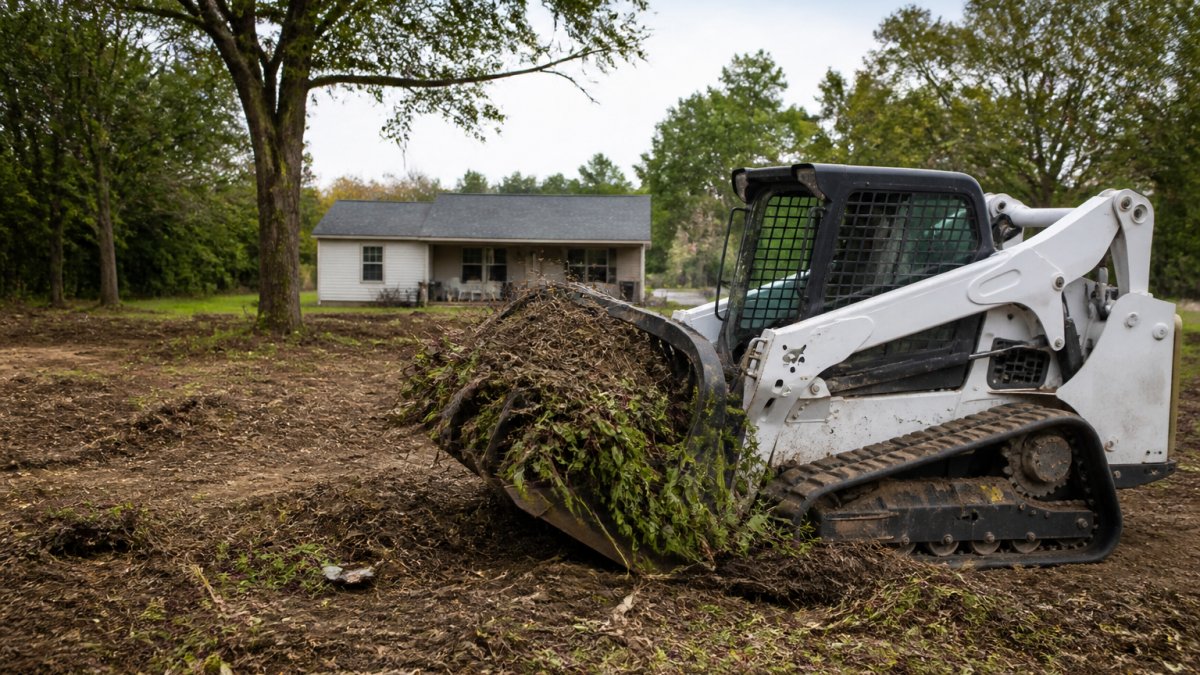
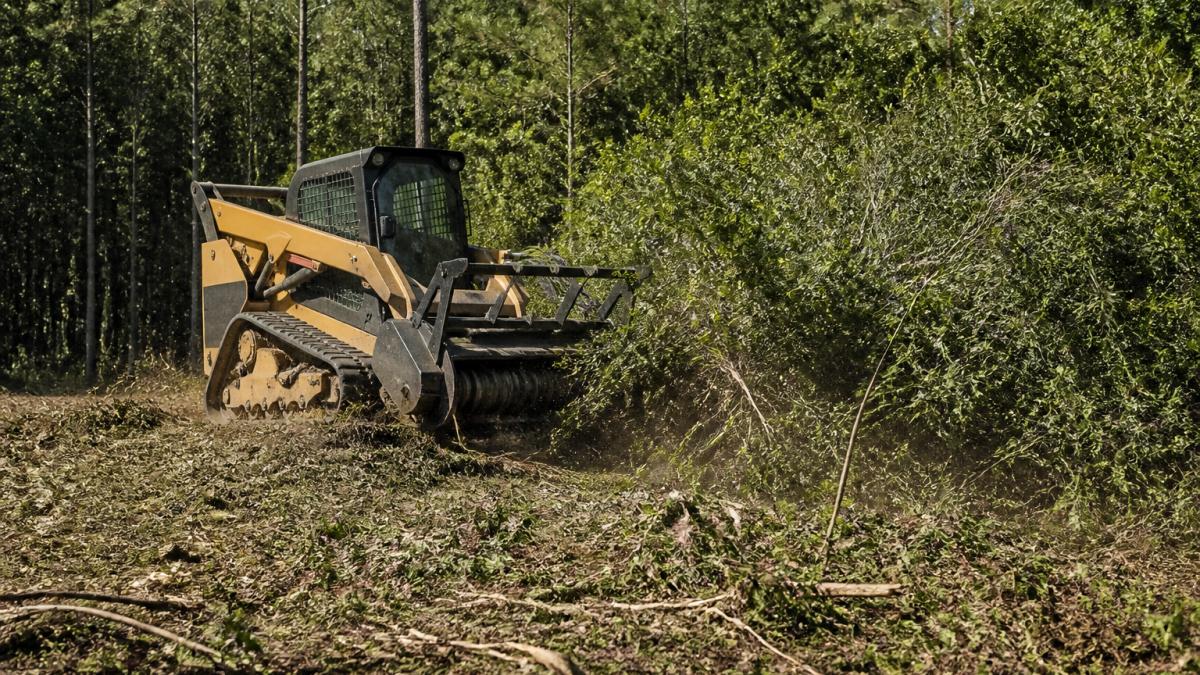
For heavy overgrowth, professional land clearing helps. SemperFi Land Clearing LLC uses forestry mulching to selectively remove unwanted vegetation while preserving cover-building species, maintaining corridor integrity while improving habitat quality.
Space cover strategically: dense patches every 50-75 feet provide resting spots, and continuous cover maintains security. Gaps reduce corridor effectiveness.
Implementing Deer Habitat Edge Feathering Techniques
Edge feathering creates transition zones between open areas and dense cover, giving deer multiple escape routes and resting options.
Edge feathering works by creating layers of vegetation. The outermost layer is shorter brush (3-5 feet).
Implement feathering by:
- Removing some outer vegetation to create sight lines into cover
- Keeping scattered trees and brush at intermediate heights
- Maintaining dense inner cover for security
Feathering prevents the "wall" effect. A sudden transition from open ground to dense timber looks unnatural.
Maintain feathering annually. Young growth fills gaps quickly. Remove competing vegetation that blocks your intentional layering.
Optimizing Deer Food Plot Placement for Corridor Access
Food plots anchor one end of your travel corridors. Strategic placement ensures deer access the plot safely and predictably.
Position food plots adjacent to existing bedding cover when possible. This creates the shortest travel distance.
Orientation matters. Position plots so deer approach from downwind, allowing wind-checking before entering the open, and place the corridor entrance on the downwind side.
Multiple smaller plots work better than one large plot.
Time planting to corridor development.
Monitoring, Adjusting, and Maintaining Your Corridors
Most corridor advice stops at "check for sign." A repeatable method, fixed camera points, a seasonal sign survey, and defined decision triggers, separates a corridor that works from one you hope is working.
Set up a repeatable monitoring loop
Pick a schedule and stick to it:
- Late winter (February-March): post-season sign survey and camera pull. Vegetation is thin, trails and rub lines are visible, and you can see what actually happened during the season.
- Late spring (May-June): green-up check. Confirm cover is regenerating where you cut and that plantings survived.
- Late summer (August): pre-season camera check. Establish a baseline of movement before hunting pressure changes behavior.
Use fixed camera points, not random ones
Place trail cameras at the same locations every year so you can compare apples to apples:
- One camera at each corridor entrance (where it meets a food source or bedding area).
- One camera at the corridor midpoint if the corridor is longer than about 150 yards.
- One camera on any secondary or alternate route so you can tell whether deer are using the primary corridor or bypassing it.
Set cameras to a consistent mode (photo burst or short video), height (about 3 feet, angled slightly down), and trigger sensitivity. Log each pull with date, location, and a rough count of deer and daylight vs. nighttime detections. Look for trends across seasons, not exact numbers.
Run a simple seasonal sign survey
Walk the same route each survey and record:
- Trail count: number of distinct trails crossing your corridor centerline.
- Fresh vs. old sign: droppings, tracks, and rubs clearly from the current season vs. prior years.
- Bypass evidence: trails running parallel to your corridor just outside its edge, a sign deer are avoiding the inside.
A notebook or notes app is enough. The value is in the comparison across years, not any single walk.
Decision triggers: when to change the design
Define in advance what observation would make you change something:
- Deer consistently bypass the corridor on a parallel trail: the corridor is too open, too narrow, or positioned wrong. Add cover along the inside edge first; if that fails after a season, relocate the centerline to match the bypass trail.
- Daylight detections drop sharply after opening weekend: hunting pressure is the likely cause, not the design. Add screening cover near access routes and shift your entry/exit to avoid bumping deer off the corridor.
- Corridor use is heavy in early season but collapses by late October: food source has shifted (mast crop failure, crop harvest, plot depletion). Add or rotate a food source at the corridor's anchor end.
Maintenance calendar
- Late winter: clear fallen trees and limbs, refresh settled brush piles, and flag failed plantings.
- Spring: replant failed shrubs or grasses, and cut back invasive species encroaching on the corridor.
- Late summer: mow or brush-cut sight lines that have closed in more than intended, and re-check camera batteries and cards before the season.
Keep a simple corridor log
For each corridor, record the date, camera pull results (rough daylight/nighttime ratio), sign survey notes, maintenance performed, and any design change. After two or three seasons, that log tells you more about your property's deer movement than any general article can, and gives you a defensible basis for expanding, relocating, or leaving a corridor alone.
Frequently Asked Questions
How wide should a deer travel corridor be?
Most effective deer travel corridors range from 30 to 100 feet wide, depending on your property size and cover availability. Narrower corridors (30-50 feet) work well on smaller properties or where natural cover is dense. Wider corridors (75-100 feet) provide mature bucks with more security and multiple route options. The key is ensuring adequate dense cover on both sides so deer feel protected while moving between bedding and feeding areas.
What cover attracts deer to a travel corridor?
Deer prefer corridors with tall grasses, thick brush piles, timber stands, and dense vegetation that block line of sight. Whitetail deer especially rely on cover to feel secure during daylight movement. Selective cutting creates natural screening, while brush piles and tall native grasses provide immediate concealment. The denser the cover, the more likely mature bucks will use the corridor during hunting pressure or when moving between bedding cover and food sources.
How do you identify existing deer travel routes on your property?
Scout your property on foot and look for deer trails, worn paths, and deer sign such as tracks, droppings, and rubs. Pay attention to natural terrain features like ridges, creek beds, and gaps in vegetation where deer movement is funneled. Winter scouting is especially effective because snow reveals recent trails clearly. Use binoculars to observe daylight movement patterns from a distance, and note which routes connect bedding areas to feeding areas or food plots.
When is the best time to improve a deer travel corridor?
Late summer through early fall is ideal for corridor work because it allows vegetation to establish before the hunting season and gives deer time to adapt to changes. Avoid heavy work during the rut or peak hunting season when disturbance can push deer off your property. Winter scouting helps you plan spring and summer improvements. Spring is also good for planting native vegetation and grasses that will grow throughout the season.