 how-to
How Many Acres Can a Forestry Mulcher Clear Per Day?
Table of Contents
- Typical Forestry Mulcher Production Rates
- What Affects Forestry Mulching Time Per Acre
- Forestry Mulching Cost Per Acre and Budget Planning
- Forestry Mulching vs. Traditional Land Clearing Methods
- Realistic Timelines and What Happens After Clearing
- Preparing Your Property for Forestry Mulching
- Frequently Asked Questions
Last Updated: October 7, 2026
Typical Forestry Mulcher Production Rates
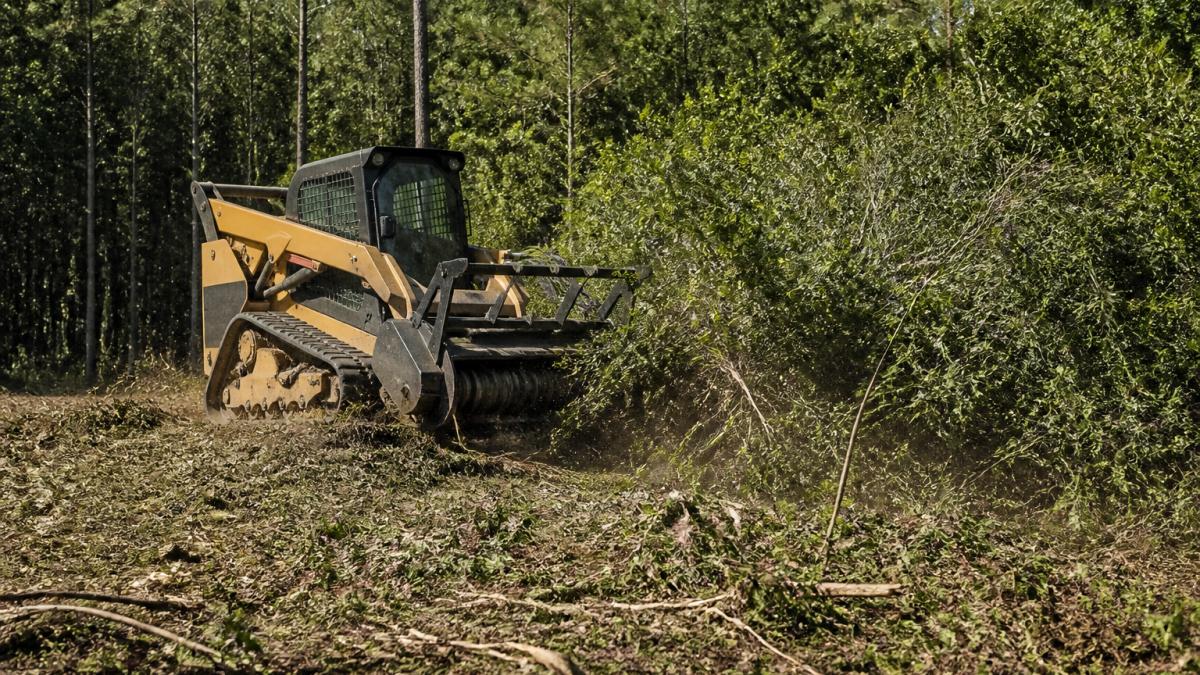
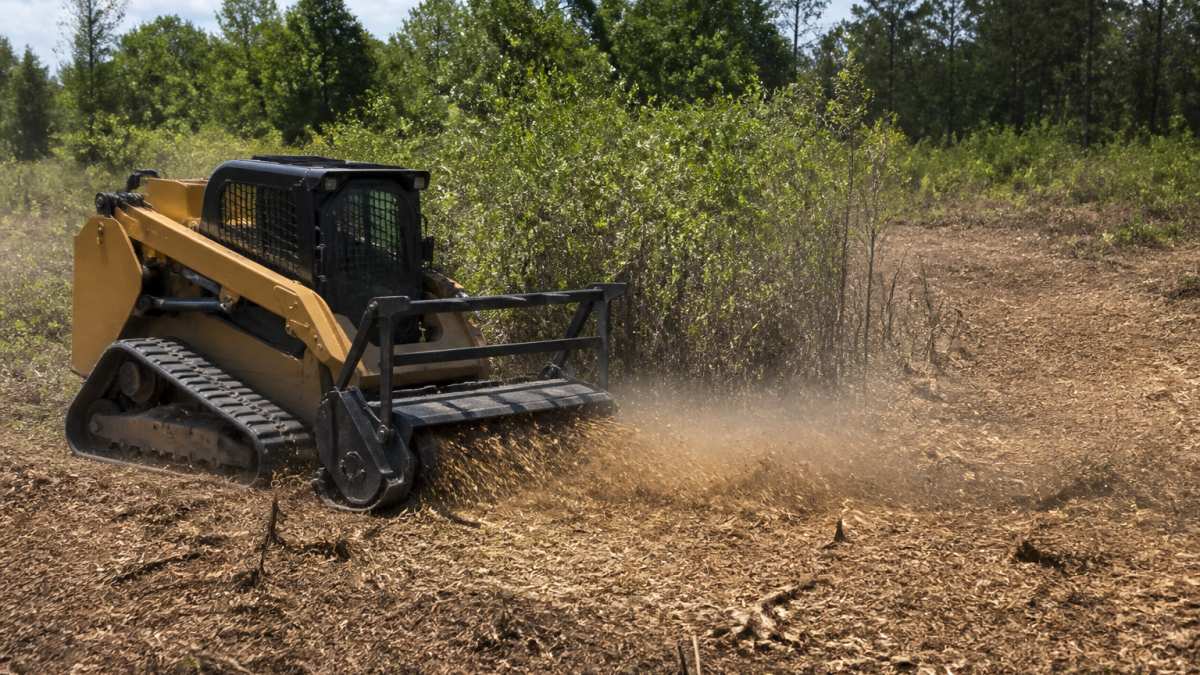
A forestry mulcher clear per day ranges from 1 to 5 acres depending on site conditions, with most jobs landing in the 2-3 acre range.
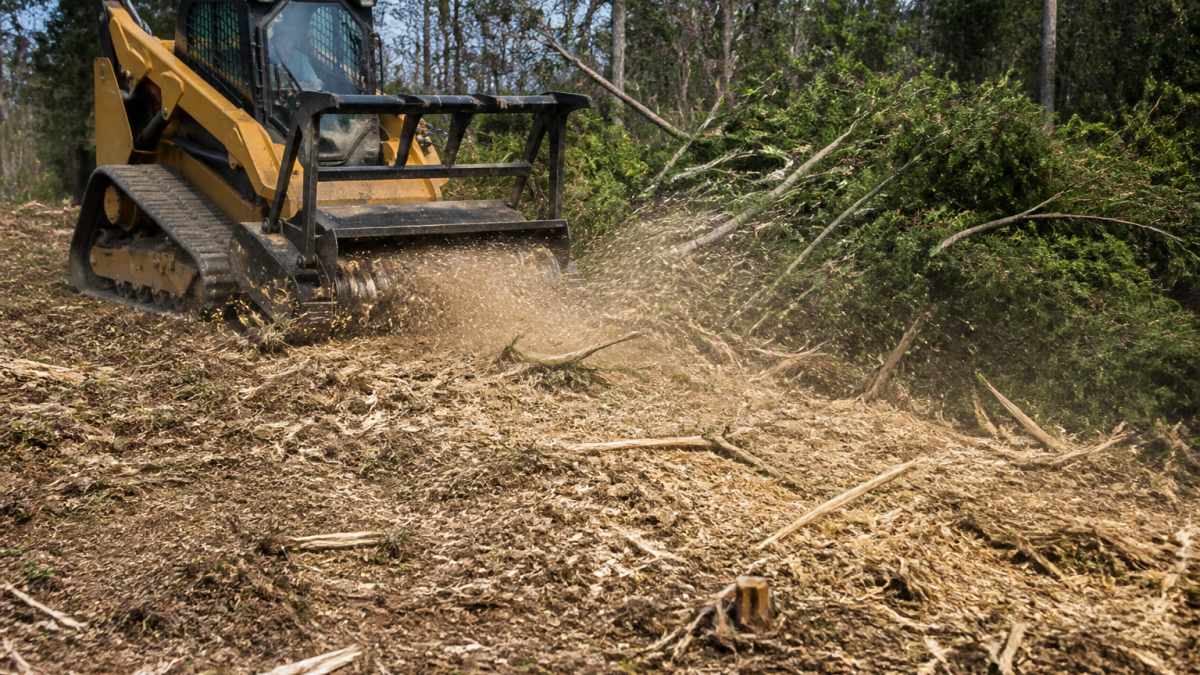
Time drives cost: a one-day job costs far less than a week-long one.
Real-world speed depends on vegetation thickness, terrain, and machine size.
What Affects Forestry Mulching Time Per Acre
Several conditions control how quickly a forestry mulcher works through your acreage, which explains why two same-sized properties can take very different amounts of time.
Vegetation Density and Type
Dense brush takes longer than scattered trees.
Invasive species and woody vines slow the work, multiflora rose, kudzu, and thick brambles wrap around the cutting head, forcing the equipment to work harder and move slower.
Pasture with light brush clears fastest, mature forest with dense canopy slowest, and mixed conditions fall in between. Your site assessment determines which category your property fits.
Terrain and Site Conditions
Steep slopes reduce production significantly: equipment works slower uphill, and safety demands more careful, methodical clearing rather than aggressive speed.
Rocky ground damages equipment and slows progress. Buried rocks, stumps, and hardpan soil force the machine to work around obstacles.
Wet conditions create major delays: muddy ground reduces traction and mobility, and rain can halt operations entirely.
Equipment Size and Power
Larger, higher-horsepower mulchers process vegetation faster: a compact machine might clear 1-2 acres per day, while a full-size unit can reach 4-5 acres on ideal ground.
Cutting head design matters too, newer grinding technology works more efficiently than older models, and dull blades slow production and stress the engine.
Operator experience plays a role: skilled operators position the machine for maximum efficiency and work safely within its limits.
Forestry Mulching Cost Per Acre and Budget Planning
Most properties need a free site assessment for an accurate cost and timeline. Thick brush, rocky terrain, and steep slopes push costs higher; light overgrowth on flat ground costs less.
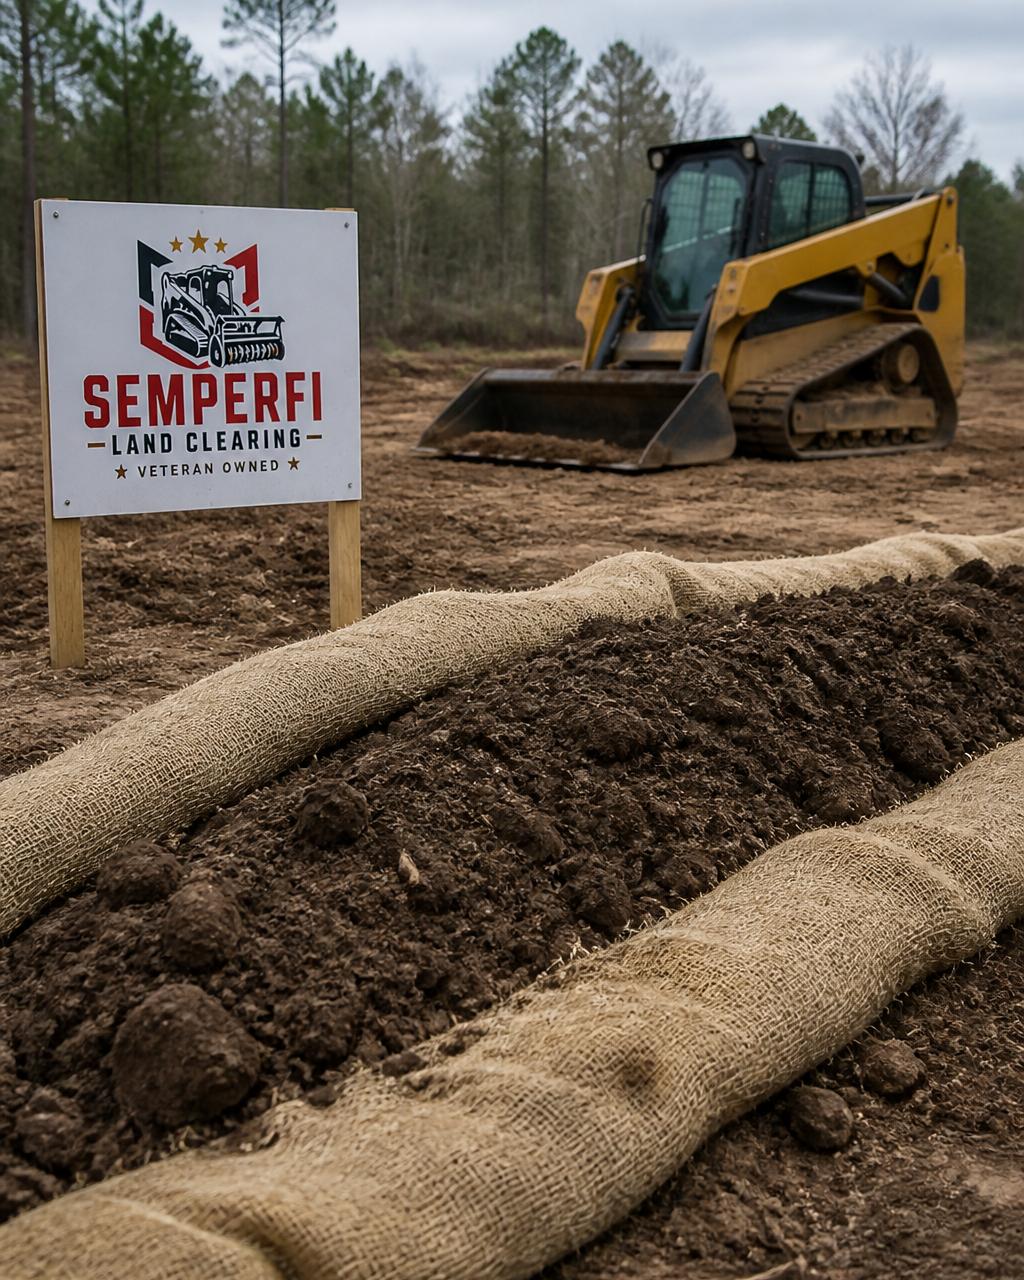
Budget planning works best when you understand what drives the price, equipment fees, labor, and site conditions. SemperFi Land Clearing LLC provides free assessments so you know the real cost before committing.
Don't compare prices across properties without knowing the conditions, a quote for your neighbor's half-acre may not apply to your three acres, since vegetation, terrain, and access change the equation.
Forestry Mulching vs. Traditional Land Clearing Methods
Forestry mulching clears land, leaves mulch on-site, and requires less cleanup compared to some traditional approaches.
Traditional clearing involves cutting trees, hauling debris, burning piles, or chipping off-site.
Erosion control improves with mulching: the mulch layer protects soil from rain impact and runoff, while traditional clearing leaves bare soil exposed, especially on slopes.
The mulch itself becomes a resource, stabilizing soil, retaining moisture, and feeding beneficial organisms as it decomposes.
Realistic Timelines and What Happens After Clearing
Expect a forestry mulcher clear per day of 1-5 acres depending on conditions: a three-acre property with moderate brush typically clears in 1-2 days, while dense overgrowth on rough terrain might take 3-5 days. Plan the post-clearing phase before work starts.
What the Ground Actually Looks Like
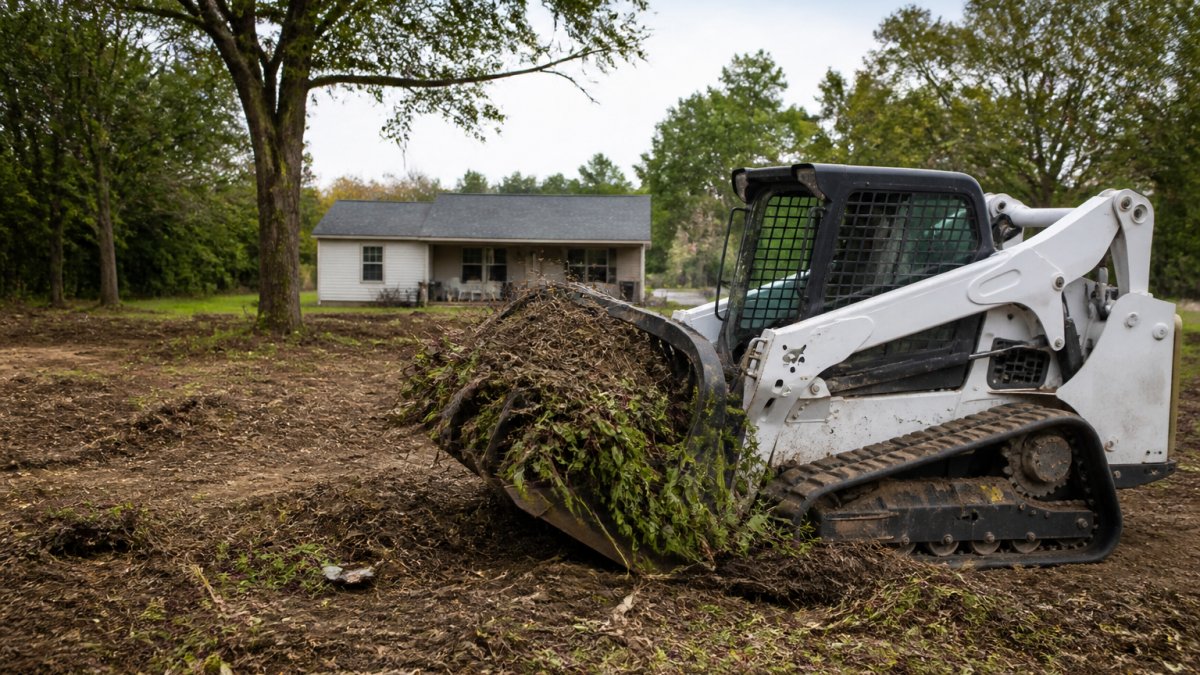
After clearing, the surface is shredded woody material, typically 2-6 inches deep with deeper pockets where stumps were ground. Stumps are cut or ground below grade; rocks and large debris remain but no longer block equipment. Mulch varies in particle size from fine chips to long stringy pieces, and that variation matters for what you do next.
Why Grass Often Fails to Establish in Fresh Mulch
The most common post-mulching complaint is "I spread seed and nothing came up." The cause is almost always seed-to-soil contact, not bad seed. Three mechanisms work against you:
- Physical barrier. A 2-inch or deeper layer of chips keeps seed suspended above the mineral soil. Roots germinate, hit air, and desiccate.
- Light interception. Even a thin, uneven mulch layer shades the soil surface enough to suppress germination of many lawn and pasture species that need light to trigger.
- Nitrogen tie-up at the surface. As microbes break down woody carbon, they immobilize available nitrogen in the top inch or two. Seedlings that do germinate can stall out yellow and stunted.
Practitioners commonly report that natural regrowth appears first as weeds, brambles, and invasive shoots from existing root systems, root sprouting, not germination, and not a sign your seeding worked.
A Practical Site-Preparation Sequence
For a seeded stand rather than volunteer brush, work in this order:
- Assess mulch depth. Probe with a shovel. Under 1 inch is usually seedable with minimal prep; over 2 inches needs intervention.
- Redistribute or remove. In order of cost: (a) drag a chain harrow or landscape rake to mix mulch into topsoil; (b) push mulch into windrows and leave exposed strips for seeding; (c) haul excess off-site if depth is extreme.
- Test the soil. Pull samples from several spots and submit to an extension or commercial lab. Woody decomposition can shift pH and tie up nitrogen early, so get a baseline before buying lime or fertilizer.
- Correct pH and nutrients. Apply lime and phosphorus based on the test, not habit. Nitrogen is better applied at planting or split across the first season than broadcast into fresh mulch.
- Prepare a seedbed. Light tillage, a cultipacker, or a no-till drill all work, the goal is seed in contact with mineral soil, not perched on chips.
- Seed at the right rate. Follow the label rate and use the higher end on rough ground. Pasture mixes typically run 20-40 lb per acre for cool-season grasses and clovers; native warm-season mixes often 8-15 lb per acre of pure live seed. Confirm rates with your supplier or extension office.
- Pack and mulch lightly. A cultipacker or light straw cover holds moisture without burying seed.
- Control competition. Mow or spot-treat weeds that outpace seedlings for the first season.
Timing: When to Seed
Two windows work in most of the country:
- Late summer to early fall (roughly late August through October, depending on latitude). Soil is warm, moisture returns, and cool-season species root before winter, the most forgiving window for pasture and lawn.
- Late winter to early spring (February through April). Works for cool-season species where fall was missed, and warm-season natives once soil temperatures hold above roughly 60°F.
Avoid seeding into fresh mulch in midsummer unless you can irrigate, and avoid late-fall seeding of warm-season natives, they won't root before frost.
Realistic Establishment Timelines and Success Indicators
- Days 7-14: Germination begins for fast species if moisture and contact are right. You should see a faint green fuzz, not bare chips.
- Weeks 3-6: Seedlings reach 2-4 inches, the point where you can tell a stand from a failure. Thin, patchy emergence usually means poor seed-to-soil contact, not bad seed.
- Months 2-4: Ground cover fills in. Bare patches larger than a few square feet are candidates for reseeding.
If you see bare chips with no green by week four and moisture has been adequate, the problem is contact or depth, not timing. Reseed those zones after a light harrow pass.
How Sunlight and Canopy Removal Change the Site
Removing canopy is the biggest ecological shift on the property: previously shaded ground now gets full sun, raising soil surface temperature and drying the top inch faster. Shade-adapted understory dies back, and sun-loving species, including many invasives, colonize quickly. Get a desirable species established in the first season rather than waiting a year and fighting brush.
Erosion, Drainage, and Slopes
On slopes, mulch helps erosion control but hurts seeding. Most practitioners leave a heavier mulch layer on the steepest sections to hold soil and concentrate seeding on flatter ground. On moderate slopes, thin mulch in strips along the contour, seed those strips, and let remaining mulch armor the between-strip areas.
If you plan to seed pasture or plant new vegetation, coordinate the clearing date with your target seeding window so mulch settles and you're not staring at bare chips through a full growing season.
Preparing Your Property for Forestry Mulching
Most cost and scheduling surprises on a mulching job trace back to preparation, not the machine. A half-day of planning routinely saves a full day of production. Work through these steps in order.
1. Define the End Use Before You Clear
The most useful question is: what will this ground be used for in 12 months? The answer changes how you clear.
- Pasture or hay: A cleaner finish, stumps ground lower, and mulch managed for a seedbed. Plan for a second pass or harrow work.
- Building pad or driveway: Stumps ground below grade and mulch pushed off the footprint. Mulch left in place settles and rots, fine for a food plot, terrible under a slab.
- Wildlife habitat or food plot: A mosaic, cleared strips, some cover left standing, edge feathering rather than a hard line.
Tell the operator the end use up front. It changes head height, pass direction, and where mulch gets deposited.
2. Walk the Site and Map the Work
Walk the property with the operator or estimator and mark the clearing boundary with flagging or paint, ambiguity here is the most common source of disputes. Identify:
- Access points. The mulcher needs a path wide and firm enough to reach the work zone. Narrow gates, low limbs, soft ground, and steep access roads are the usual bottlenecks; some jobs need a preliminary pass just to open a route.
- Obstacles to protect. Wells, septic fields, drain tiles, buried irrigation, fence corners, and specimen trees. Flag them.
- Hazard trees. Dead standing timber, leaners, and trees with root damage are a safety issue and should be identified before the machine is in the canopy.
3. Call 811 Before Anything Moves
Call 811 for free utility locating at least a few business days before work begins. Underground gas, electric, water, fiber, and irrigation lines must be marked, hitting one is a safety hazard, a service outage, and an expensive repair. Private lines past the meter (landscape irrigation, yard lighting, septic laterals, propane) aren't covered by 811 and are your responsibility to locate.
4. Clear the Work Zone
Move anything you want to keep out of the clearing footprint: vehicles, trailers, fencing panels, gates, signs, feeders, bee boxes, and small outbuildings. Mulchers throw debris, and hidden wire or chain in the brush can wrap a head and stall the job, remove it before the machine arrives.
5. Plan for Water and Drainage
Bare, mulched ground sheds water differently than vegetated ground. Before clearing, note where water goes now and where it will go once vegetation is gone. On sloped ground, plan for:
- Water bars or diversion on long cleared slopes to slow runoff.
- Silt fence or straw wattles below the work area if sediment could reach a ditch, creek, or neighbor's property.
- Culverts and ditch lines kept clear so they don't plug with mulch during the first storms.
Check with your state or county soil and water conservation district if the work is near a waterway, some jurisdictions require a sediment and erosion control plan above a certain acreage.
6. Coordinate Timing With the Season and the Next Step
Ground conditions drive production more than any other variable. Late summer and fall generally offer the firmest, driest ground; spring thaw and heavy rain seasons are the worst. If you're seeding after clearing, work backward from your target seeding window so mulch settles and a seedbed is prepped before the optimal planting date.
7. Notify Neighbors and Set Expectations
Mulching is loud and dusty. A quick heads-up to neighbors about work dates prevents complaints, and if a shared fence line or driveway is involved, confirm responsibilities before the machine shows up.
8. Confirm Insurance and Scope in Writing
Ask for a certificate of insurance before work begins, general liability at minimum, plus whether the operator carries equipment coverage. Get the scope in writing: acreage, boundary description, stump height, mulch handling, and what happens if the machine hits an undisclosed obstruction. A one-page scope prevents almost every dispute.
Think about what comes next. If you're reseeding pasture, line up seed, soil test, and seedbed equipment before clearing starts. If you're building, confirm the cleared footprint matches your site plan. Clearing before construction makes sense, but clearing before winter without an erosion plan can mean losing topsoil to spring runoff.
Frequently Asked Questions
How many acres can a forestry mulcher clear in a day?
A forestry mulcher typically clears 1 to 3 acres per day, depending on vegetation density, terrain, and equipment size. Light brush and open pasture may allow 3+ acres daily, while thick overgrowth with mixed tree sizes often drops to 1-2 acres. Site conditions and mulch depth goals also affect the pace. A free land assessment helps determine realistic timelines for your specific property.
What makes forestry mulching more efficient than traditional land clearing?
Forestry mulching combines clearing and chipping in one pass, eliminating separate debris removal and disposal. The resulting mulch layer improves soil by adding organic matter, suppressing weeds, and controlling erosion. Traditional methods require hauling, burning, or mulching separately.
How do I estimate the cost of forestry mulching for my property?
Forestry mulching cost depends on acreage, vegetation type, terrain difficulty, and equipment access. Dense brush costs more per acre than open pasture. Request a free land assessment to get an accurate estimate tailored to your site conditions.