 ultimate-guide
Land Clearing Techniques for Farmers: A 2026 Guide
Table of Contents
- Why Land Clearing Techniques Matter for Farm Productivity
- Forestry Mulching Benefits for Agriculture and Soil Health
- Traditional Clearing Methods: Grubbing, Root Raking, and Pile and Burn
- Cost of Land Clearing Per Acre: What Shapes the Price
- Soil Conservation Practices During Land Clearing
- Land Clearing Equipment for Small Farms and DIY Projects
- Permits, Regulations, and a Compliance Checklist
- Planning Your Clearing Project: From Assessment to Pasture Establishment
- Frequently Asked Questions
Last Updated: September 7, 2026
Why Land Clearing Techniques Matter for Farm Productivity
Clearing land is the first physical act of farming, and getting it wrong can set back soil productivity for a decade or more. The land clearing techniques for farmers you choose determine what you can plant next season and how well your soil holds moisture, resists erosion, and supports root growth.
Most farmers understand that clearing is necessary, but few realize it is a soil conservation practice in its own right: the method you select either protects the fragile topsoil layer or buries, compacts, and scrapes it away.
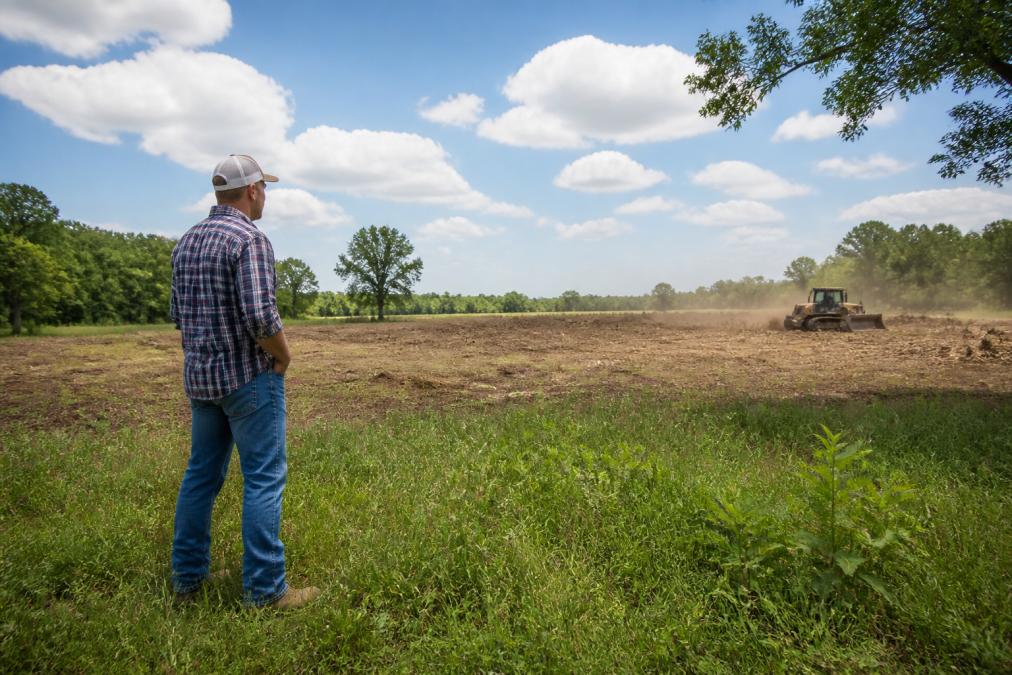
Forestry Mulching Benefits for Agriculture and Soil Health
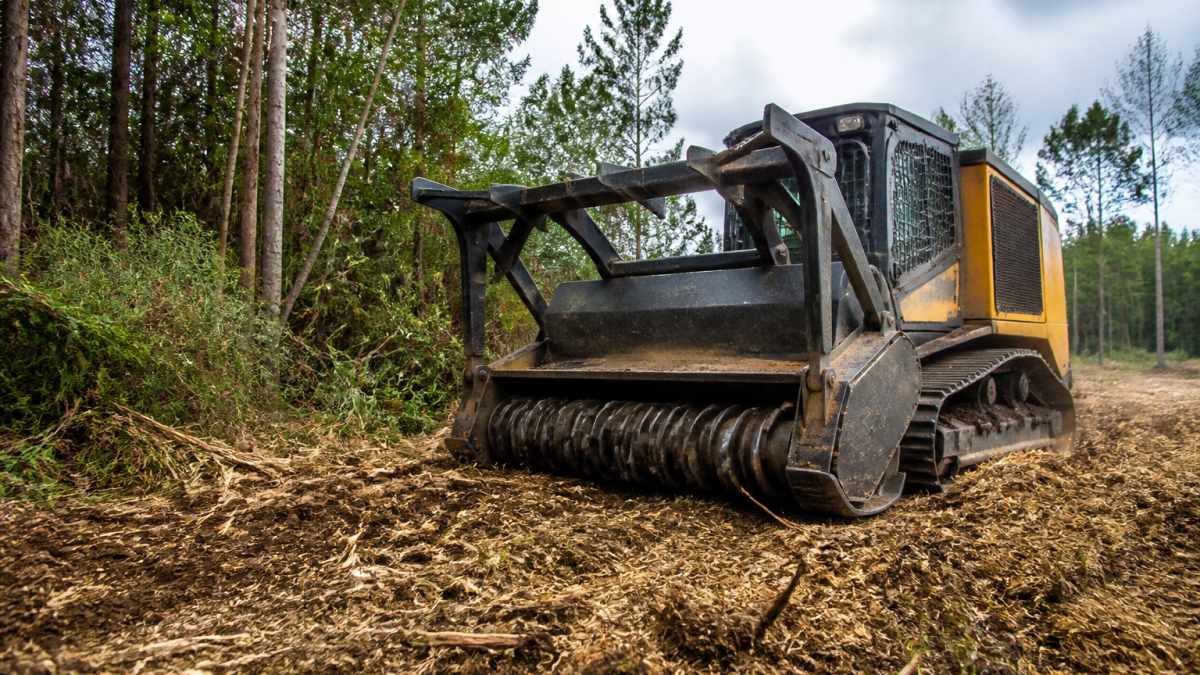
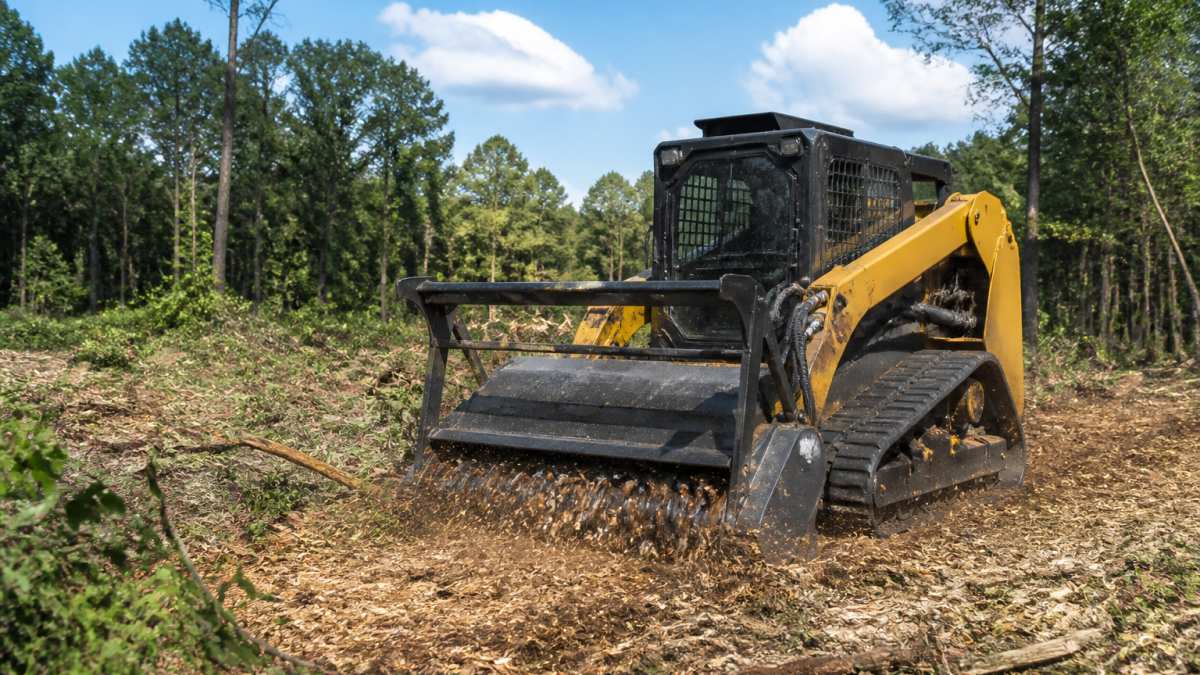
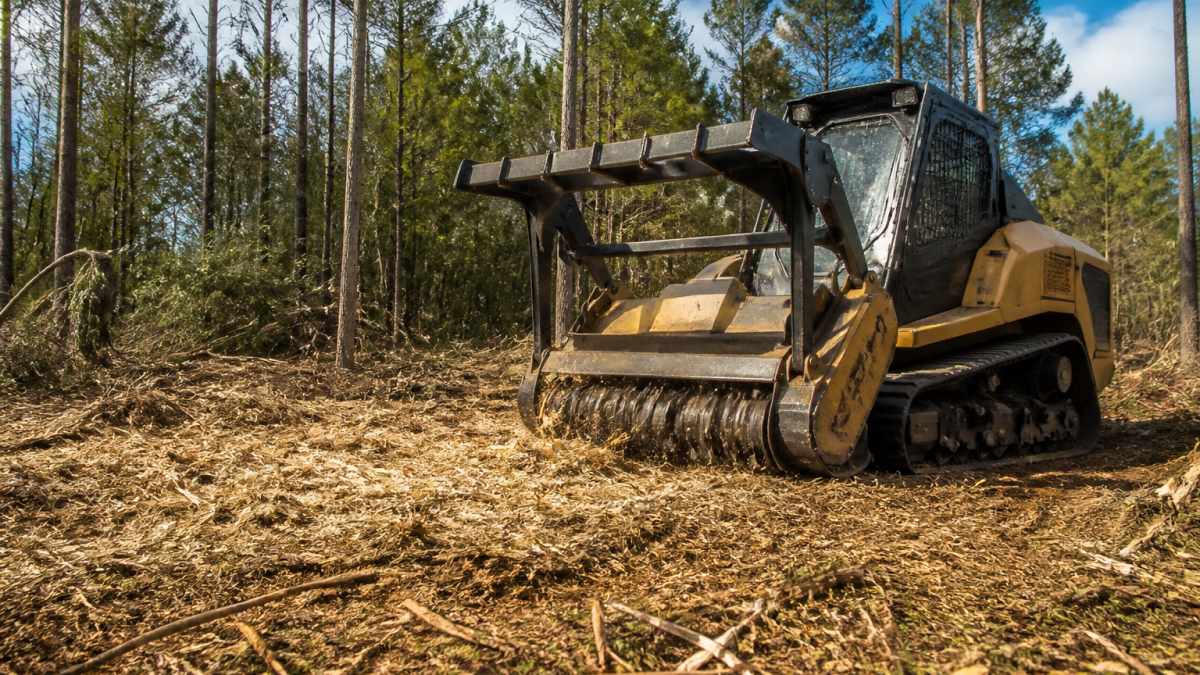
Forestry mulching is the closest thing land clearing has to a no-till approach. A rotating drum grinds standing trees, brush, and stumps into a layer of woody biomass that stays on the surface, where it breaks down slowly and feeds the soil food web beneath it.
The key advantage is what the machine does not do: it does not dig, scrape, or invert the soil. Land clearing techniques that involve grubbing or root raking pull the topsoil layer into piles, mixing living soil with subsoil and burying the seed bank. Forestry mulching leaves the soil structure intact, supporting pasture establishment and reducing the need for heavy tillage before seeding.
The mulch layer also acts as a natural erosion control blanket, holding moisture during dry spells, suppressing weeds by blocking sunlight, and giving native grasses a head start.
Traditional Clearing Methods: Grubbing, Root Raking, and Pile and Burn
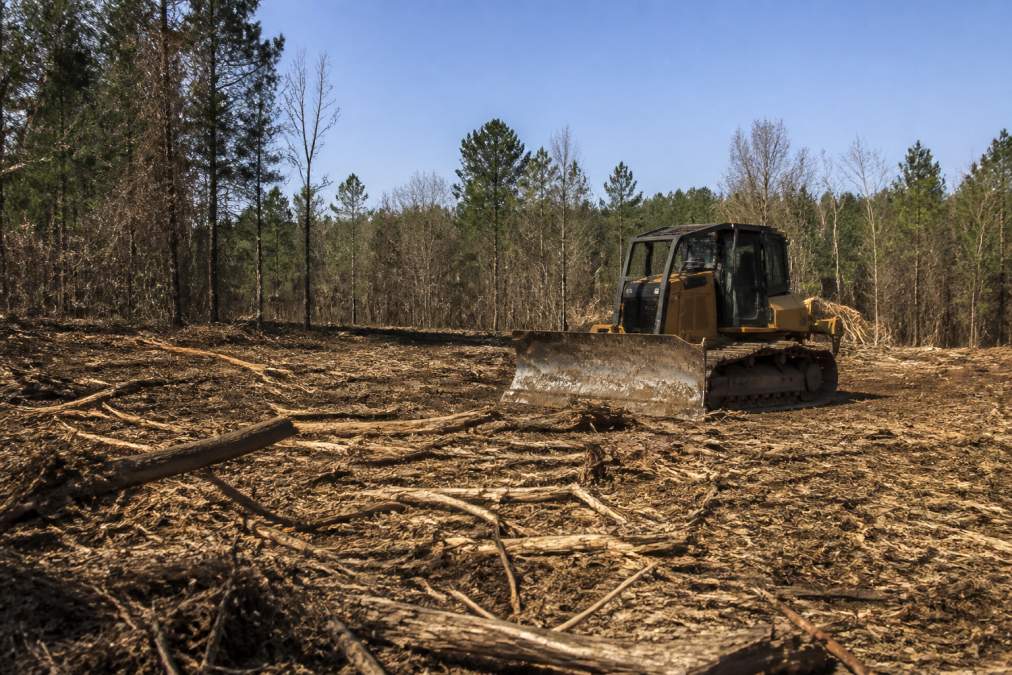
Where forestry mulching is the precision scalpel, traditional methods are the heavy hammer. Grubbing uses an excavator or bulldozer to rip out root systems and stumps entirely, leaving clean mineral soil behind. Root raking follows up by combing the ground to collect debris into windrows. Pile and burn then disposes of the accumulated woody biomass.
These methods have a place. When you need to remove deep root systems for a building site, install drainage, or eliminate invasive species that resprout from roots, grubbing may be the only reliable option. The trade-off is soil disturbance: heavy machinery tracking across wet ground causes compaction, and scraping the surface removes the organic matter that holds nutrients.
Pile and burn releases carbon and particulates into the air, and many areas restrict open burning during certain seasons. If you choose this route, check local burn bans and air quality rules. The alternative is to chip or grind the material on site, which keeps the organic matter where it belongs.
Cost of Land Clearing Per Acre: What Shapes the Price
Pricing for land clearing varies widely, and any firm that quotes a flat rate without seeing the property is guessing. The cost of land clearing per acre depends on vegetation density, tree size, slope, soil moisture, and distance from the contractor's base.
Realistic Cost Ranges for Common Scenarios
Pricing for land clearing varies widely, and any firm that quotes a flat rate without seeing the property is guessing. The cost of land clearing per acre depends on vegetation density, tree size, slope, soil moisture, and distance from the contractor's base.
Breaking Down the Line-Item Costs
A professional quote should itemize the major cost drivers:
- Mobilization and Demobilization: This flat fee covers transporting the equipment to your site.
- Equipment Operation: This is the hourly or per-acre rate for the machine itself.
- Debris Disposal: If you are not using forestry mulching (which leaves material on site), you will pay for disposal.
- Stump Grinding or Removal:
- Site Restoration: If the contractor needs to grade, seed, or mulch after clearing, this is billed separately.
The Hidden Cost of Cheap Quotes
Be wary of quotes that come in far below the local norm. A low bid often means the contractor plans to take shortcuts that will cost you more in the long run. Common red flags include:
- Pushing topsoil into piles: This destroys the seed bank and buries your most fertile soil layer, requiring expensive topsoil replacement later.
- Ignoring wet ground: Operating on saturated soil causes deep compaction that can take years and thousands of dollars in deep tillage to correct.
- Burning without permits: If the contractor triggers a fine or a stop-work order, you are liable as the landowner.
A Decision Framework: When to Rent vs. Hire
To determine if you should rent equipment or hire a contractor, use this simple rule-of-thumb based on acreage and your available time:
| Scenario | Recommended Approach | Rationale |
|---|---|---|
| Under 1 acre, light brush | DIY with a rented brush cutter or compact tractor attachment | Rental costs are low, and the project is manageable in a few weekends. |
| 1-5 acres, mixed brush and small trees | Hire a contractor with a forestry mulcher | The per-acre cost is competitive, and a professional crew finishes in days, not months. Renting a skid steer with a mulcher attachment can cost $500-$1,000 per day, which adds up quickly. |
| 5-20 acres, dense brush or small timber | Hire a contractor | Professional equipment is faster and more efficient. A dozer or large mulcher can clear 1-3 acres per day, while a compact tractor might take a week per acre. |
| Over 20 acres, mature timber | Hire a contractor with heavy equipment and a timber buyer | You may recover some costs by selling the timber. A professional can coordinate the timber harvest and then clear the residual stumps and brush. |
The best way to get an accurate figure is an on-site assessment. A reputable contractor will walk the property, note the species and density of growth, and give you a number tied to your specific conditions. Ask for a written quote that itemizes mobilization, equipment hours, and disposal costs so you can compare bidders fairly.
Soil Conservation Practices During Land Clearing
Protecting the soil during clearing is not an afterthought; it is the core of sustainable farming. The first rule is to keep heavy equipment off wet ground. Running a mulcher or excavator over saturated soil compacts it into a layer that roots struggle to penetrate, and that damage can persist for years.
A second practice is to leave the topsoil in place. When stumps must be pulled, remove them without scraping the surrounding surface. Use equipment that grinds stumps below grade rather than excavating a crater that fills with water. If grading is unavoidable, strip the topsoil first, stockpile it separately, and spread it back after rough grading.
Erosion control should begin during the project, not after. Establish a vegetative cover as soon as clearing is done, using a fast-growing annual grass or a permanent pasture mix suited to your region. If the cleared area changes water flow, install diversions or water bars to prevent gullying.
Land Clearing Equipment for Small Farms and DIY Projects
Not every clearing job needs a full-size bulldozer. Land clearing equipment for small farms ranges from walk-behind brush cutters to compact tractor attachments, and matching the tool to the task saves both money and topsoil. But the DIY path also requires understanding the physical limits of the equipment, the hidden costs of rental, and the safety protocols that prevent a weekend project from becoming a hospital visit.
Matching the Tool to the Task
Here is a practical breakdown of equipment options for small-acreage clearing, ranked by the size of vegetation they can handle:
| Equipment Type | Best For | Vegetation Diameter | Rental Cost | Soil Impact |
|---|---|---|---|---|
| Walk-behind brush cutter (e.g., DR Trimmer Mower) | Grass, weeds, and light brush on flat ground | Up to 1 inch | $100-$200 | Very Low |
| Tractor-mounted rotary cutter (brush hog) | Pasture reclamation, thick grass, and small saplings | Up to 2 inches | Low | |
| Compact tractor with a grapple and root rake | Clearing small trees, piling brush, and light grubbing | Up to 4 inches | Moderate | |
| Skid steer with a forestry mulcher attachment | Brush, small trees, and stumps up to 6 inches | Up to 6 inches | $500-$1,000 | Low - leaves mulch in place |
| Compact excavator (mini-excavator) with a thumb | Grubbing stumps, removing roots, and precise work near structures | Up to 8 inches | High - disturbs topsoil |
The Hidden Costs of DIY Clearing
The rental rate is only the beginning. Factor in these additional costs and time sinks:
- Trailer and transport:
- Fuel:
- Damage waivers and insurance:
- Your labor: A professional crew can clear 1-3 acres per day with a large mulcher. A homeowner with a compact tractor might clear 0.25-0.5 acres per day. If your time is worth anything, the math rarely favors DIY for anything over 2 acres.
Safety Protocols for Small-Scale Operators
Operating clearing equipment is dangerous work. The USDA and OSHA both emphasize that most farm accidents involving machinery are preventable with basic protocols. Before you start, commit to these rules:
- Walk the entire site on foot first. Mark every hidden stump, rock, wire fence, and underground utility line with flags. Call 811 (the national "Call Before You Dig" hotline) at least 3 business days before you start to have utilities located (call811.com).
- Establish a danger zone. Keep all bystanders and helpers at least 100 feet away from the operating area. Flying debris from a mulcher or brush cutter can travel further than you expect.
- Wear full personal protective equipment (PPE). This includes a hard hat, safety glasses or a face shield, hearing protection (mulchers operate at 100+ decibels), heavy-duty gloves, and steel-toe boots. Chainsaw chaps are essential if you are doing any manual cutting.
- Never operate on a slope greater than the machine's rated limit. A compact tractor can roll over on a slope as low as 15 degrees, especially with a loaded bucket or grapple (the CDC). If you are unsure, hire a professional with a low-center-of-gravity mulcher.
- Check for overhead hazards. Look for dead branches (widowmakers) and power lines before you start. A falling limb can crush a cab or injure an operator.
When DIY Stops Making Sense
A common pattern among small farmers is starting with DIY and switching to a professional after the first weekend. The trigger points are usually:
- You encounter stumps over 6 inches in diameter. Grinding these with a compact excavator is slow and often leaves a crater that fills with water.
- The brush is thicker than expected. If you cannot see the ground from the tractor seat, the job is bigger than your equipment.
- You are on wet ground. Operating a compact tractor on saturated soil causes the same compaction damage as a full-size dozer, just over a smaller area.
A practical rule of thumb: if the project will take more than three full weekends, the rental costs, fuel, and your labor will likely exceed the cost of hiring a professional for a day. A professional crew with a forestry mulcher can often finish in one pass what would take a homeowner an entire season, and they leave the soil structure intact.
Permits, Regulations, and a Compliance Checklist
Clearing land often triggers state and local regulations that landowners overlook. Before any equipment arrives, check whether your project requires permits for timber harvest, wetland disturbance, or stormwater runoff. The rules vary by state and county, so contact your local soil and water conservation district or extension office for guidance specific to your property.
A basic compliance checklist should cover: wetland delineation if your land has low, wet areas; endangered species habitat reviews for land that borders waterways; and local ordinances on noise, debris burning, and truck traffic. If you plan to clear near a creek or drainage ditch, you may need a permit from your state environmental agency.
Skipping these steps can result in fines, stop-work orders, and costly restoration requirements. A professional clearing service familiar with local regulations can flag potential issues during the assessment phase, saving you from a project that stalls halfway through.
Planning Your Clearing Project: From Assessment to Pasture Establishment
A successful clearing project starts with a written plan, not a phone call. Begin with a land assessment that maps the boundaries, notes vegetation types, and identifies sensitive areas like drainages, slopes, and existing fence lines. This assessment drives every later decision, from equipment selection to debris disposal.
Clear in a dry season when the ground supports equipment without rutting. Time your work so that pasture establishment can follow immediately, since bare soil is vulnerable to erosion and weed invasion. A typical order is: assess, mark boundaries, clear vegetation, address stumps, grade only where needed, then seed and mulch.
The table below summarizes the main approaches and their best uses:
| Method | Best Use | Soil Impact | Follow-up Needed |
|---|---|---|---|
| Forestry mulching | Brush, small trees, fence lines | Low; adds organic matter | Seed directly into mulch |
| Grubbing and root raking | Deep roots, building sites | High; disturbs topsoil | Grade, then restore topsoil |
| Pile and burn | Large debris, open areas | Medium; removes organic matter | Spread ash, reseed promptly |
| Brush cutter (DIY) | Light undergrowth, small lots | Low | Remove or chip cut material |
Most farmers find that a phased approach works best. Clear the highest-priority pasture first, establish it, and move to the next block the following season. This spreads the cost, reduces erosion risk on large bare areas, and lets you learn from the first phase before committing to the rest.
Working with a professional who understands both equipment and soil health makes the difference between a cleared field and a productive one. SemperFi Land Clearing LLC offers free land assessments to help you plan the project, and our veteran-owned team specializes in forestry mulching that protects your topsoil while removing overgrowth. If you are ready to turn brush into pasture, contact us for an estimate and take the first step toward better land management.
Frequently Asked Questions
What is the cheapest method of clearing land?
For small acreage, renting a brush cutter or using a tractor with a grapple can be a cost-effective upfront option. However, for larger plots, the most economical method often balances time and equipment. Forestry mulching can be a highly efficient approach because it completes site preparation in one pass, potentially reducing separate costs for debris disposal. The most cost-effective method depends on your acreage, vegetation density, and whether you prioritize speed and soil preservation.
How long does it take to clear 20 acres of land?
A professional crew using a large forestry mulcher can clear 20 acres of moderate brush in roughly 3 to 5 days. Heavily wooded land with large trees takes longer, often 1 to 2 weeks, because stumps require grubbing and root raking. The timeline also depends on terrain, soil moisture, and the need for stump removal. Request a land assessment to get a schedule based on your specific conditions, as wet ground can slow heavy machinery considerably.
How do I clear land while maintaining soil integrity?
Prioritize soil conservation practices during land clearing. Avoid ripping out root systems on slopes, which accelerates erosion. Use forestry mulching to leave roots in place and return woody biomass to the soil. Keep heavy machinery off wet ground to prevent soil compaction, and establish vegetative cover quickly after clearing to hold topsoil. Consider adding a cover crop before planting your main crop to rebuild organic matter and protect the soil from heavy rain.
What permits are required for agricultural land clearing?
Permits vary by state and county, so check with your local planning department and conservation district. You often need a permit for clearing in wetland areas, near streams, or if you plan to alter drainage. Many areas require an erosion and sediment control plan. If the land is in a conservation easement or agricultural district, additional approvals may apply. A professional land clearing service can help you identify the necessary paperwork before machinery arrives.
Will weeds and brush grow back after clearing?
Some regrowth is natural, but forestry mulching helps suppress it. Mulched material creates a mat that shades the soil, making it harder for light-dependent seeds to germinate. For persistent species, herbicide application may be needed after clearing. The key is to establish a competitive vegetative cover, such as a pasture grass mix, shortly after clearing. This crowds out weeds and gives you a productive field rather than a brush patch.
Clearing land is a permanent change, so the techniques you choose deserve careful thought. The wrong method can compact your soil, invite erosion, and cost more in the long run, while the right approach builds fertility and saves time. Start with an honest assessment of your property, match the method to your goals, and work with a team that treats your topsoil as the asset it is. Get started with SemperFi Land Clearing LLC and turn your overgrown acres into productive ground.