 How-to
7 Steps to Clear Land for a Driveway Without Mistakes
Table of Contents
- Plan and Mark the Driveway Route Before You Cut Anything
- Assess Trees, Brush, and Hazardous Limbs on the Route
- Choose Between Clearing It Yourself and Hiring a Contractor
- How to Clear Land for a Driveway by Hand, Step by Step
- Removing Stumps, Roots, and Grading the Driveway Bed
- How Long Clearing a Driveway Path Usually Takes
- Book a Free Assessment for Your Driveway Clearing
- Frequently Asked Questions
Last Updated: November 6, 2026
Plan and Mark the Driveway Route Before You Cut Anything
How to clear land for a driveway starts with a plan, not a chainsaw. Walk the route first, mark it with flagging tape, and decide where the clear land driveway will meet the road. Most costly mistakes happen because someone started cutting before they knew where the driveway should go.
Spend an afternoon on the plan and you will save a week of cleanup later. Stand at the road entrance and look back toward the building site. Mark the centerline with stakes or bright tape every 25 to 30 feet.
Check Property Lines, Easements, and Local Rules
Before you touch a single tree, confirm where your property lines sit. A surveyed boundary, plat map, or your county appraisal district record can show you where your land ends.
Check these items before you start:
- Property lines. Cutting on a neighbor's land can lead to disputes and liability.
- Easements. Utility and access easements may restrict what you can clear or build over.
- Local rules. Counties and cities may limit burning, tree removal near streams, or work near wetlands.
- Permits. Ask your county or city whether a permit applies before you start.
Watch out: Clearing a route through a recorded easement without permission can force you to restore the area at your own cost.
Assess Trees, Brush, and Hazardous Limbs on the Route
Walk the marked route slowly and note every tree, stump, and pile of brush. Mark the trees you plan to keep so the crew does not cut them by mistake.
Look for these warning signs:
- Dead or hollow trees that could fall without warning
- Limbs hanging over the driveway path
- Leaning trees near the road or building site
- Power lines or utility poles near the route
A dead tree can be far more dangerous than a live one. If a tree is near a power line, call your utility company instead of cutting it yourself.
Choose Between Clearing It Yourself and Hiring a Contractor
Clearing a short driveway path by hand is possible for a determined homeowner. A longer clear land driveway route through thick timber usually calls for equipment and experience.
Consider these factors:
- Length and width of the route. A 300-foot path is a different job than a 1,000-foot one.
- Tree size. Trees over 8 inches across are hard to fell safely without experience.
- Equipment you already own. A chainsaw is not enough for stumps and roots.
- Time available. Clearing by hand often takes weeks of weekends. If brush is too dense to cut by hand, compare non-chemical brush control alternatives for ranches.
- Your safety comfort level. Felling trees is one of the most dangerous tasks on a property.
Many landowners find a hybrid approach works well. They cut the brush and small trees themselves, then hire a crew for the heavy trees and stump removal. Get at least two written estimates from insured contractors. Pricing varies widely by acreage, terrain, and disposal method, so ask each company to itemize the work. For current pricing or a quote, contact SemperFi Land Clearing LLC through its website.
How to Clear Land for a Driveway by Hand, Step by Step
If you plan to clear by hand, work in a set order. This keeps the job safer and makes cleanup faster.
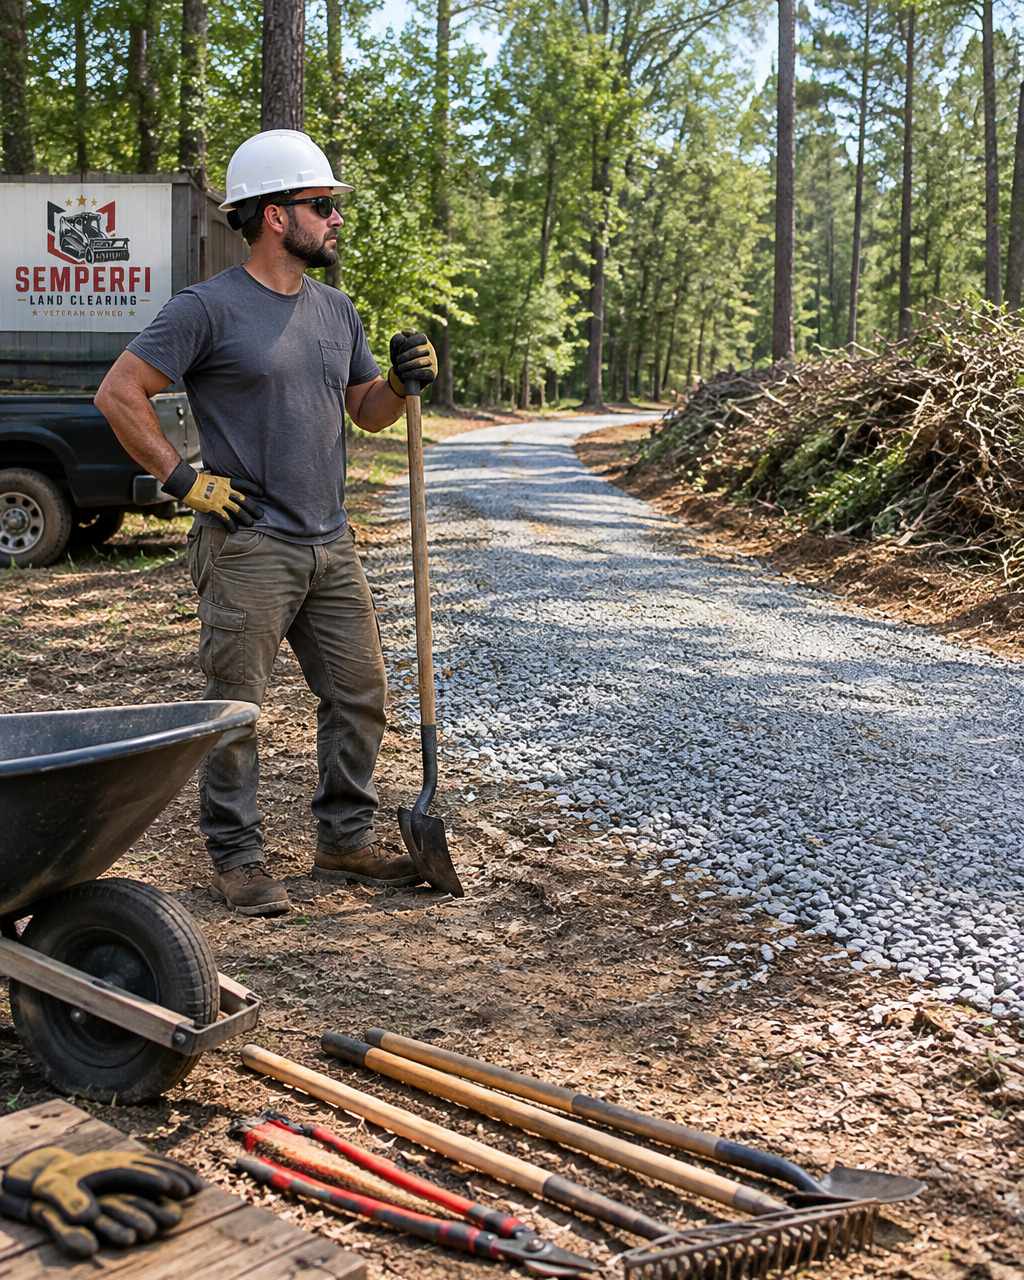
- Clear the brush and undergrowth first. Cut low growth along the marked centerline.
- Fell small trees next. Cut trees under 6 inches in diameter, working away from the route.
- Limb and buck the trees. Remove branches, then cut the trunks into manageable lengths.
- Move the debris. Pile logs and brush at the edge of the cleared area.
- Remove stumps and roots. Dig or grind stumps below the driveway bed.
- Grade the driveway bed. Level the surface and check for drainage slope.
- Confirm the final width. Most residential driveways need at least 10 to 12 feet of clear width.
Felling Trees and Limbing Safely
Felling is where most injuries happen. Plan an escape path at a 45-degree angle away from the tree before you cut. Wear chaps, a helmet with face shield, hearing protection, and steel-toe boots.
Never cut alone if you can avoid it. Have someone nearby who can call for help. Keep bystanders at least two tree lengths away.
When limbing, stand on the uphill side of the trunk and cut branches from the top down. Watch for spring poles, which can snap back hard when tension releases.
Moving Logs, Brush, and Debris
Pile brush in a clear area away from the driveway and any structures. Burn piles only where local rules allow it, and never burn during a dry spell or high wind. Many counties have burn bans or permit requirements, so check before lighting anything.
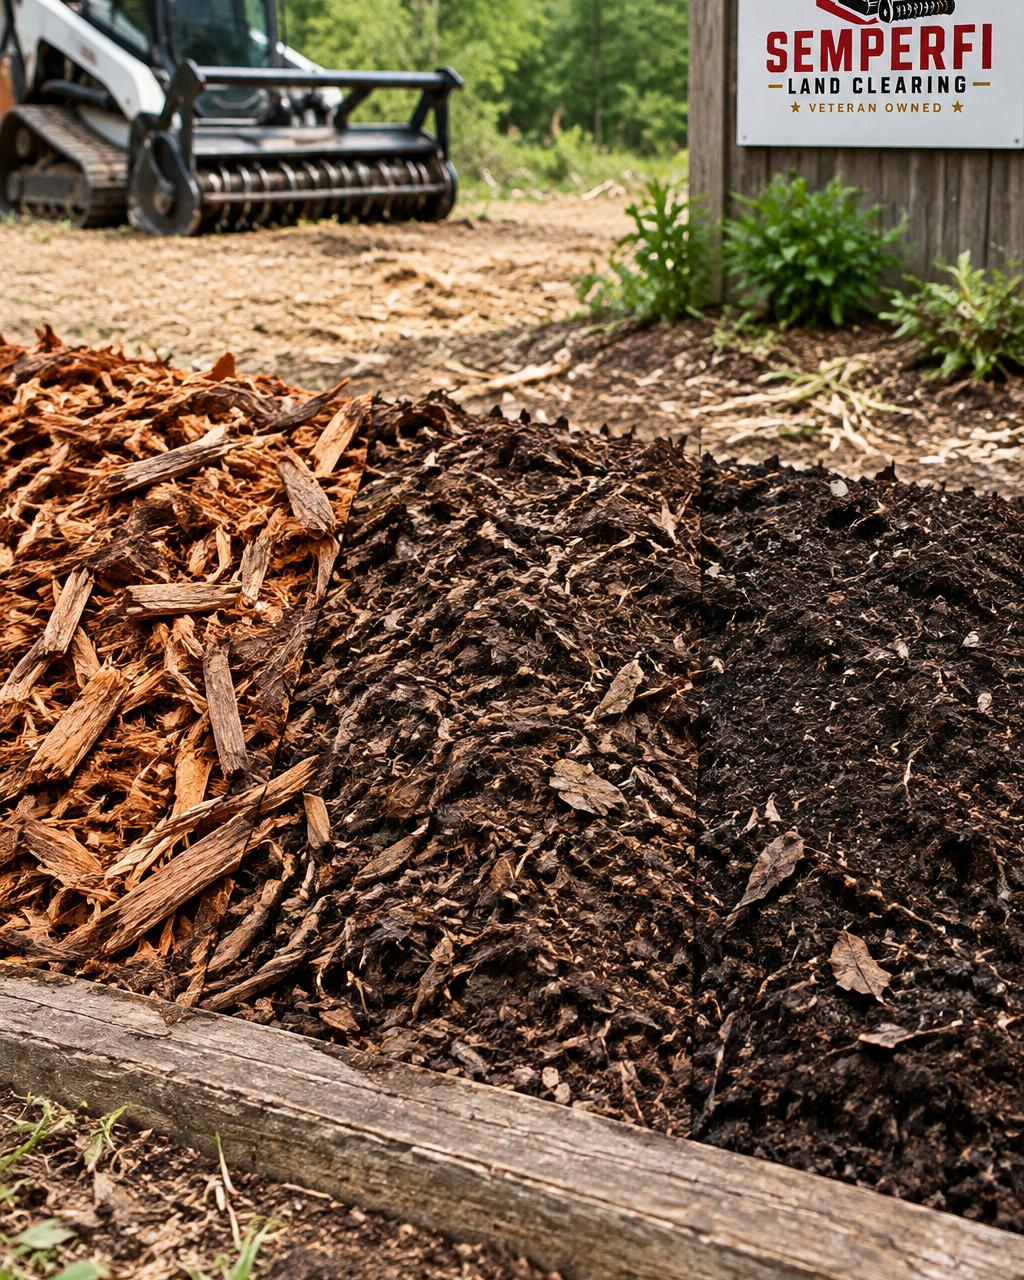
Chip brush if you can, since wood chips make good mulch for the disturbed soil. Haul logs you want to keep, and arrange for disposal of the rest.
The seven steps below summarise the order of work for clearing a driveway path by hand.
| Step | What to do | Time or frequency |
|---|---|---|
| 1. Clear brush | Cut low growth along the marked centerline | Not stated |
| 2. Fell small trees | Cut trees under 6 inches, working away from the route | Not stated |
| 3. Limb and buck | Remove branches, then cut trunks into manageable lengths | Not stated |
| 4. Move debris | Pile logs and brush at the edge of the cleared area | Not stated |
| 5. Remove stumps and roots | Dig or grind stumps below the driveway bed | Not stated |
| 6. Grade the bed | Level the surface and check drainage slope | Not stated |
| 7. Confirm width | Most residential driveways need 10 to 12 feet clear | 10 to 12 feet minimum |
Removing Stumps, Roots, and Grading the Driveway Bed
Clearing is only half the job. The transition from a cleared path to a driveway that stays usable through freeze-thaw, spring rain, and heavy vehicles depends on what happens in this stage: stump removal, root cleanup, grading, drainage, and base preparation. Skipping or rushing it is why so many freshly cleared driveways rut, settle, or wash out within a season.
Remove Stumps and Roots From the Driveway Footprint
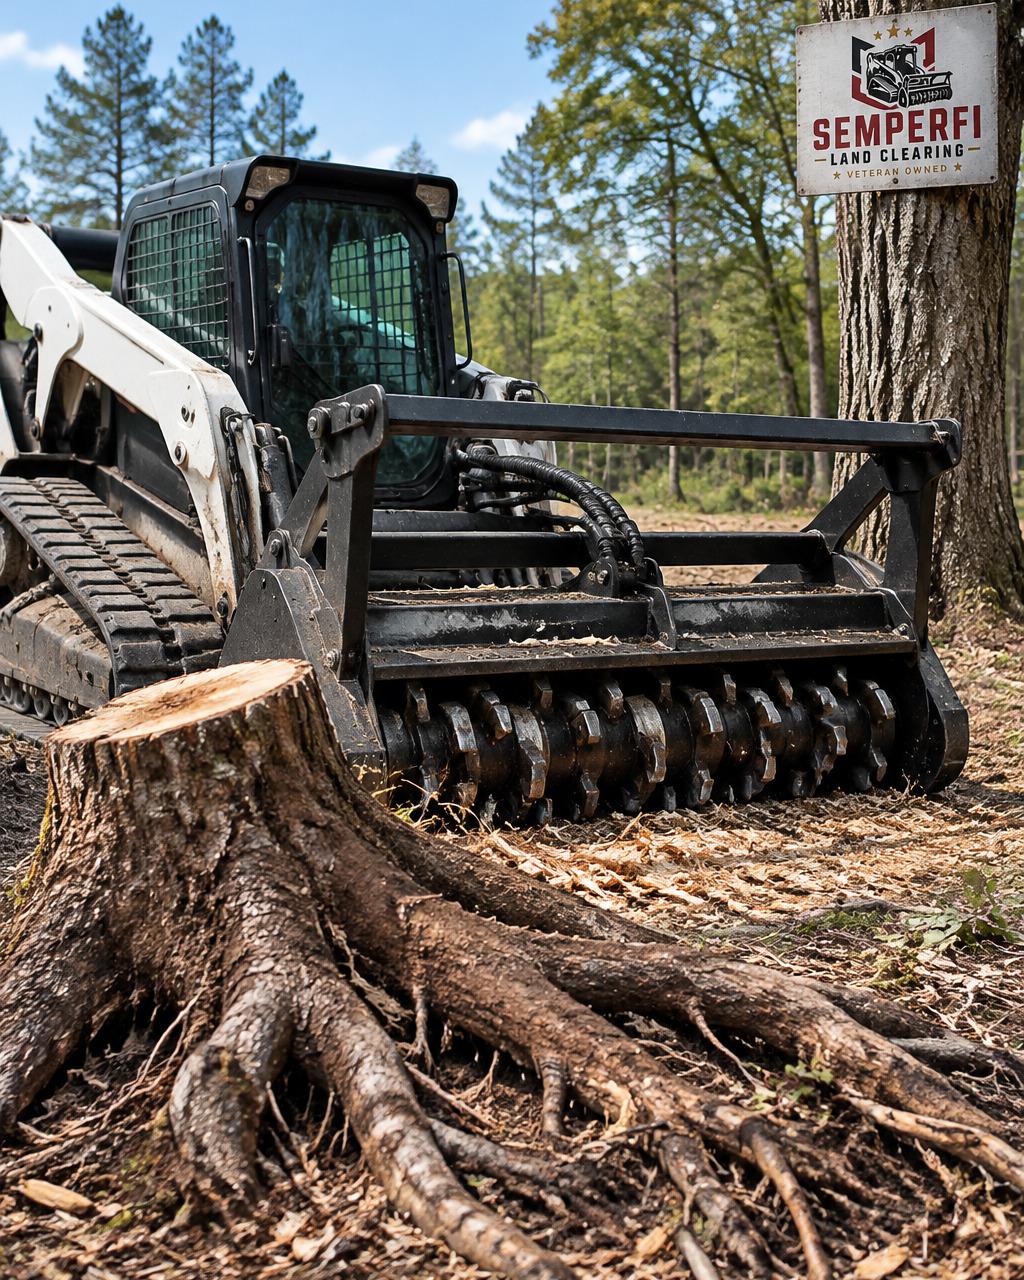
Stumps left in the driveway bed can settle, rot, and create soft spots. Grind them below the surface or dig them out, since grinding alone leaves roots that can continue to decay under the bed.
For a driveway, dig or pull the stump and the major roots out of the footprint rather than grinding flush, since excavation removes organic material that would otherwise settle.
Watch out: Grinding a stump flush and paving over it is a common shortcut that produces a dip in the driveway within a year or two as the remaining wood decays.
Grade for Drainage, Not Just Flatness
Grade the bed so water drains away from the house and toward a ditch, swale, or culvert. A modest cross slope helps water run off the surface without feeling steep to drive.
Check the grade with a level, a string line, or a laser level before you add base material. Set the finished subgrade slightly below the surrounding ground where possible so the driveway does not become a dam, and shape the shoulders so water has somewhere to go.
Size and Place Culverts Correctly
A culvert that is too small is worse than none, because it concentrates flow and washes out the road. Size the pipe for the drainage area above it, set it at or slightly below the natural channel grade, and align it with the flow. The right culvert size depends on the watershed and local requirements, check with the county or a qualified engineer for anything beyond a small, well-defined drainage.
Control Runoff and Erosion During and After Construction
Bare, freshly graded ground erodes fast. Install silt fence or straw wattles along the downhill edge of disturbed areas, keep a vegetated buffer between the work area and any stream or wetland, and stabilize the driveway and shoulders as soon as grading is done. Seed or mulch exposed slopes, and direct concentrated flow to a stable outlet. If a permit required an erosion and sediment control plan, follow it, inspectors check for it, and it protects the driveway you just built.
Build the Base for the Loads the Driveway Will Carry
A cleared and graded path is not yet a driveway. The base is what carries vehicles, and its depth depends on the soil and the loads. The right base depth depends on the soil and the loads, and a qualified contractor can recommend a specification for your site.
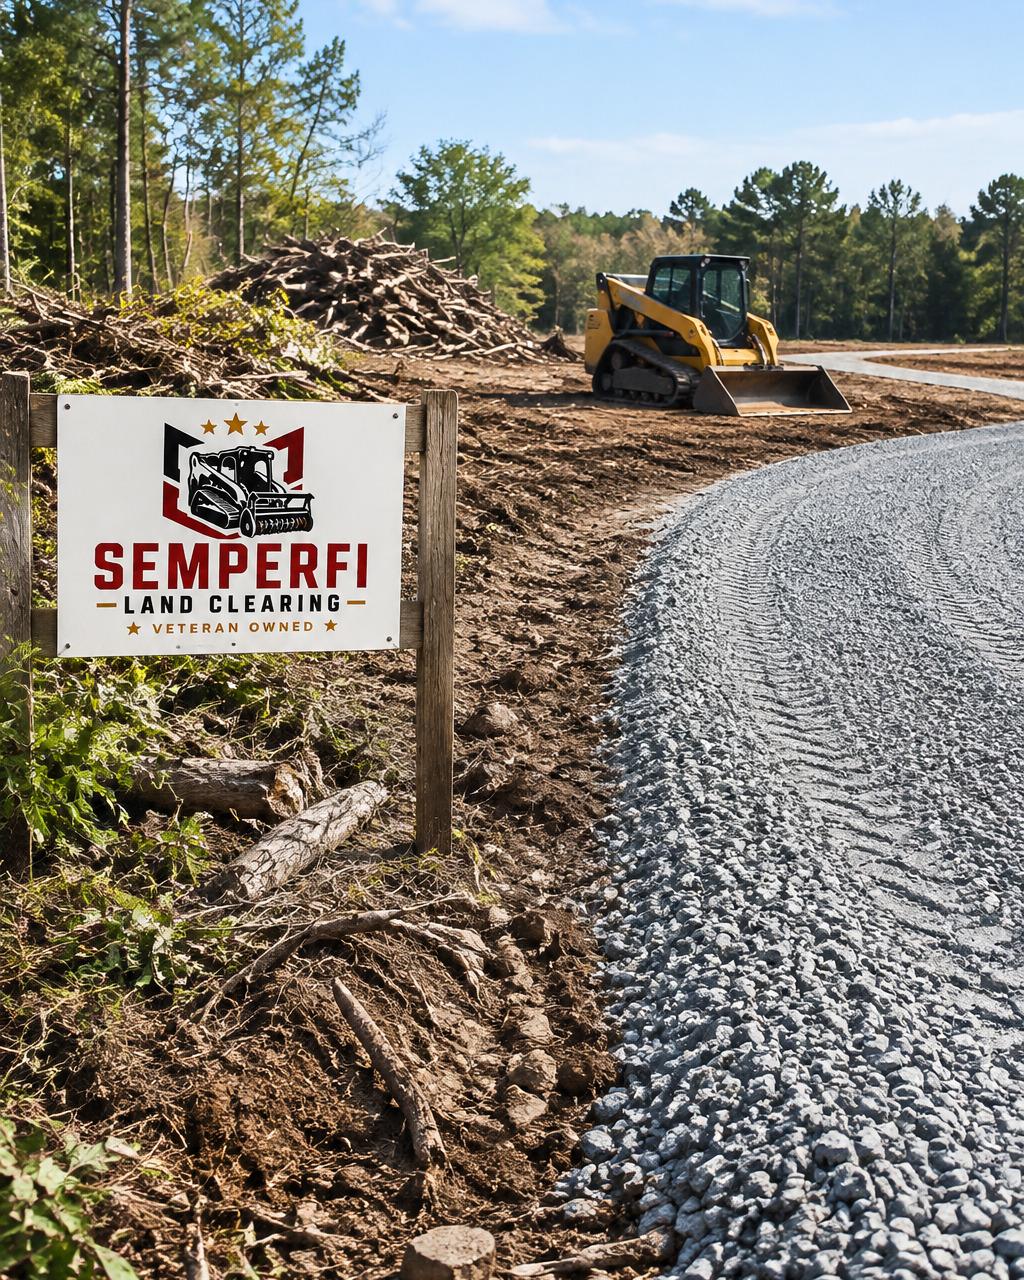
Place base material in lifts of 4 to 6 inches and compact each lift before adding the next. Crown or slope the finished base to match the drainage plan, and check the grade again after compaction, since material settles. For a gravel driveway, the base stone is often the surface; for asphalt or concrete, the base is the foundation the paving rests on, and its quality determines how long the pavement lasts.
Confirm Width, Turnarounds, and Access
Most residential driveways need at least 10 to 12 feet of clear width, with wider sections at the entrance and any turn. Plan a turnaround or a pull-out if vehicles will need to back out onto a road, and check local requirements for driveway width, sight distance at the road entrance, and culvert sizing. Confirm the final width and grade against the plan before you call the job done, it is much easier to adjust a gravel base than a finished surface.
How Long Clearing a Driveway Path Usually Takes
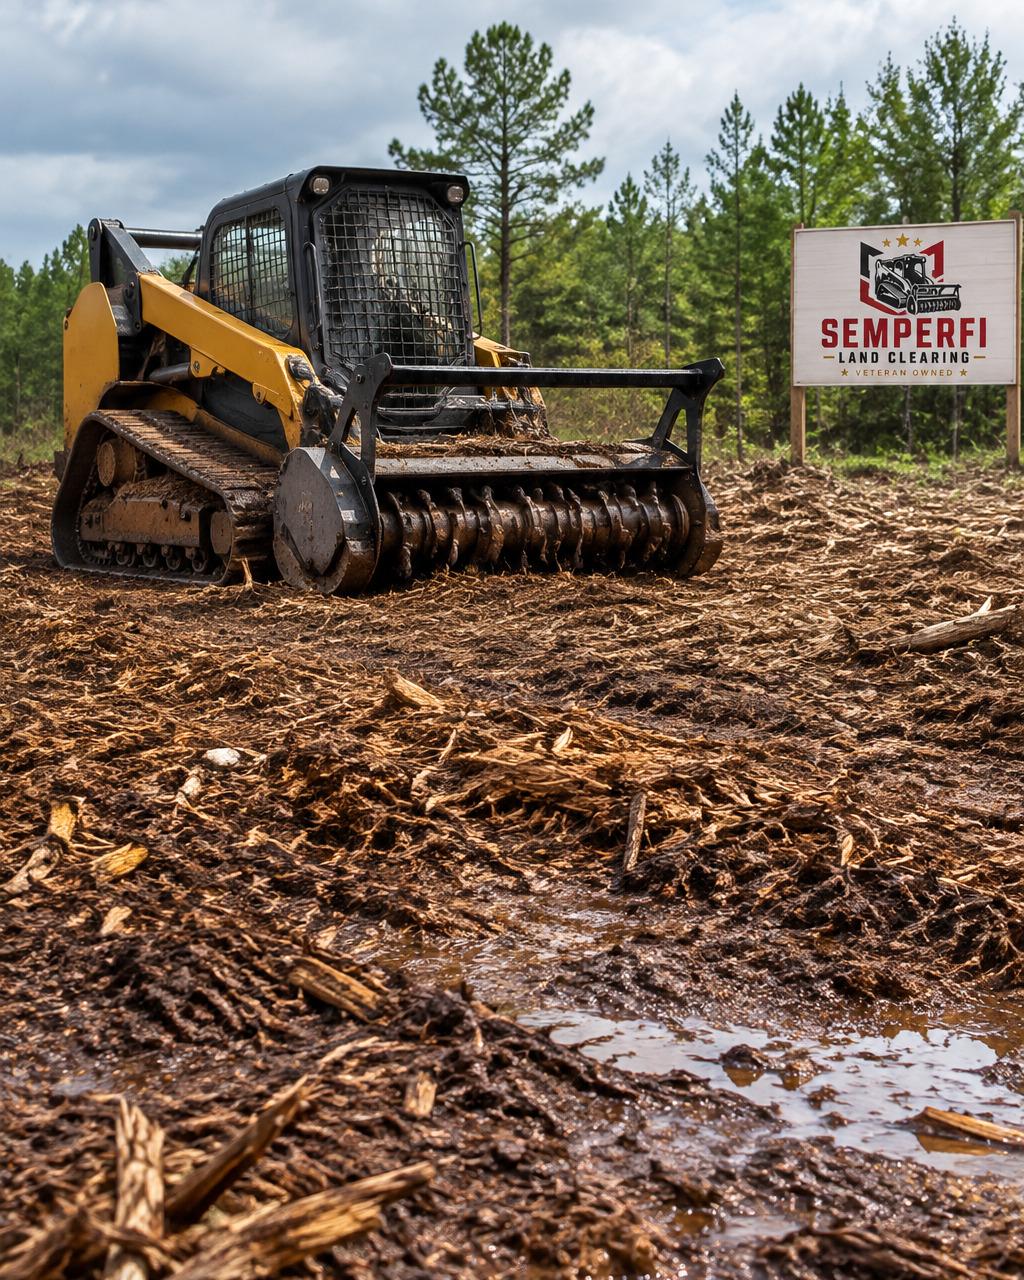
Timelines depend on route length, tree density, and whether you use equipment. A short, lightly wooded route can take a few days for a homeowner working weekends. A longer route through dense timber can take several weeks by hand, while a contractor with a mulcher or excavator often finishes the same route in a few days.
Factor in time for permits, which can take a few weeks in some counties, and for stump removal and grading. Plan for weather delays, especially after rain.
Book a Free Assessment for Your Driveway Clearing
Clearing a driveway path is a big job, and the right plan makes it much safer. If you would rather have a professional look at your land first, SemperFi Land Clearing LLC offers a free land assessment. We can walk your route, flag hazards, and give you a clear picture of what the job involves. To learn more, request your free assessment and get an estimate tailored to your property.
Frequently Asked Questions
What is the cheapest way to clear land for a driveway?
The cheapest route is usually clearing the path yourself with hand tools and a rented skid steer or small tractor, then hauling or burning brush where local rules allow. Costs depend on how many trees must come down, how far debris must travel, and whether stumps need grinding. Doing the work yourself avoids labor charges but takes longer and carries injury risk. For a precise comparison, get a written estimate from a licensed contractor and compare it against your own equipment rental and disposal costs before you decide.
Do I need a permit to clear land for a driveway?
It depends on your county and the type of work. Many Texas counties do not require a permit for clearing on private land, but some require a driveway or culvert permit where the driveway meets a county road, and burn bans can restrict brush burning. Check with your county road office and your local fire authority before cutting. If the lot sits in a floodplain or near a creek, wetland or stormwater rules may also apply. Confirm easements and property lines before any work begins.
Can I clear land for a driveway myself?
Yes, many homeowners clear a driveway path themselves, especially on a narrow route with small trees and brush. The main limits are safety and equipment. Felling larger trees, handling hazardous limbs, and operating a stump grinder all carry real risk, so bring in a professional for anything with a trunk over a few inches or any tree leaning toward a structure. Plan the route first, wear proper protective gear, and be honest about how many hours the job will take.
How wide should I clear a path for a driveway?
A single-lane driveway usually needs a cleared width of about 12 to 16 feet, with the surface at least 10 feet wide for a vehicle to pass. Clear an additional 2 to 3 feet on each side for shoulders and drainage ditches, and remove overhanging branches up to about 14 feet high for trucks and delivery vehicles. Wider clearing helps with snow, mud, and turning radius, but every extra foot adds time and debris, so match the width to how you will actually use the drive.